Thinking about making an electric guitar from scratch? Then you’ll need the right tools to get the job done properly. Lutherie is a craft that blends precision, skill, and creativity, therefore knowing which tools you need (and what you don’t) is essential.
This guide will walk you through the basic as well as some more specialized guitar making tools used by luthiers, and their uses. So, let’s get going with some…
Basic Hand Tools
Chisels
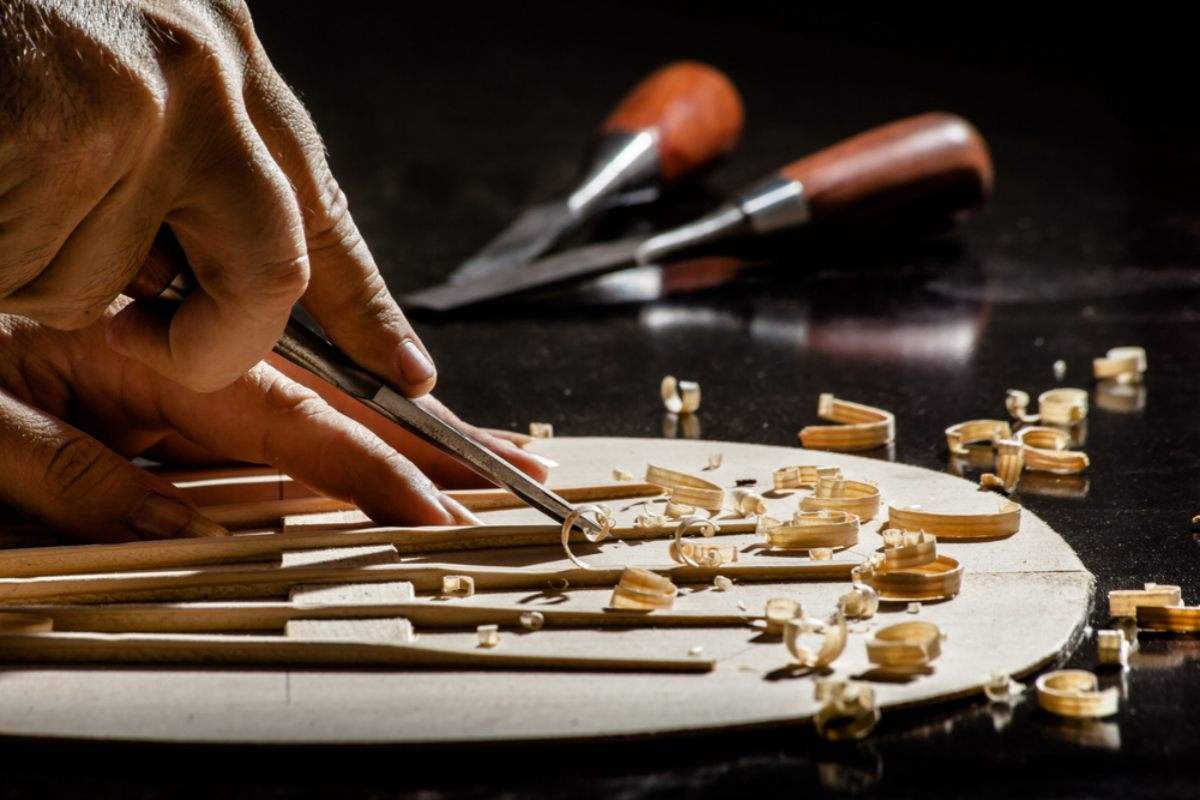
Chisels are your go-to for shaping wood. A good set of chisels with varying widths will make carving out intricate details, cleaning joints, and removing excess wood a breeze. And since you’ll be using them a lot, it’s well worth investing in a high-quality set, and remember to always keep them sharp for the ultimate in precision.
Gouges
These are similar to chisels but have a curved cutting edge, and are usually used for hollowing out areas of wood such as the interior cavity of an instrument.
Hand Planes
These are used to smooth and flatten wooden surfaces. A block plane is small and maneuverable, making it a great choice for flattening joints and shaping wood. The larger and longer bench plane is better suited to planning larger surfaces such as guitar bodies.
Scrapers
These are thin, flat pieces of steel that are used to smooth wooden surfaces where a plane might be too aggressive. They are an excellent choice for achieving a fine finish on curved surfaces and edges.
Files and Rasps
These come in various shapes and sizes and are used to shape and smooth wood. Rasps are quite aggressive and are a great choice for quickly removing excess wood, while files will give you finer control and a smoother finish.
Measuring and Marking Tools
Rulers and Calipers
Regardless of what type of guitar you are building, accurate measurements are crucial. Therefore, you’ll definitely need a precision ruler as well as a set of calipers (preferably both a digital version and an analog one with a dial).
These will be used to accurately measure lengths, widths, thicknesses, depths, and diameters.
Squares
A combination square is used to ensure that your cuts and joints are at perfect right angles. They are also used for checking that a guitar neck, part of the body, or other components are perfectly ‘square’.
Dividers and Compasses
These are used for marking circles, and arcs, as well as for transferring measurements. They are particularly useful for laying out the geometry of an instrument and for more complicated inlay work.
Saws and other Cutting Tools
Backsaws and Fret Saws
Backsaws feature a reinforced spine making them excellent for precisly cutting joints and slots. Whereas a fret saw, with its thin blade, is specifically designed for cutting the slots in a guitar fingerboard where the frets will be inserted.
Coping Saw
With its narrow, flexible blade, a coping saw is great for cutting intricate shapes and curves such as the outline of an acoustic guitar or delicate inlay work.
Clamps and Vises
C-Clamps and Bar Clamps
Luthier clamps are crucial for holding pieces of wood together while the glue sets. C-clamps and bar clamps come in various sizes to accommodate different parts of an instrument.
Bench Vise
You’ll need one of these (attached to a workbench) to keep the guitar steady while cutting, planing, and carving to ensure stability and precision.
Specialty Luthier Tools
Thickness Calipers
These have been specially designed to measure the thickness of the tops, backs, and sides of acoustic instruments. Ensuring the correct thickness of wood has a major effect on the tonal qualities of an instrument.
Fret Bender
These are used to precisely bend your frets ensuring a perfect fit over the entire fingerboard.
One affordable, high-quality option is the Guyker Fret Bender, which features an adjustable thumbwheel that lets you to dial in the exact radius. Simply feed a length of fret wire through the fret bender, and it will come out perfectly curved and ready to install on a radiused fretboard.
Fret Files and Crowning Tools
After the frets have been installed, they need to be leveled and crowned, that’s where fret files and crowning tools come into their own. They are used to shape the frets, ensuring they are smooth and even for optimal playability.
You’ll also need to file the fret ends, that’s where a tool like the Guyker Fret Beveling File is invaluable. It’s effective, super easy to use and gives you the option of either a 36 or a 90 degree angle.
Glue and Adhesives
Hide Glue
Traditional hide glue is favored by many luthiers because of its strong bond and how easy it is to remove if necessary. Due to it being water soluble, it can be completely and easily removed using a hot wet cloth.
Titebond
Titebond is a modern wood glue that is also commonly used in Lutherie. It offers strong adhesion and is normally easier to work with than hide glue, although harder to remove if there are problems later on.
Sanding and Finishing Tools
Sandpaper
Various grits of sandpaper will be needed as you move through the building process. These will range from coarser grits for rough shaping to finer grits for final finishing to create a smooth, even surface.
Sanding Blocks
These are used to give a flat or curved surface for your sandpaper, helping you achieve an even finish.
They are available in various shapes for working on different parts of the guitar, including finishing the frets. One excellent option is the Guyker Two-Way Radius Sanding Block for Fret Leveling which not only offers flawless precision when working on your frets, but is also great for finishing touches to your nut and fingerboard.
Buffing Wheels and Polishing Compounds
If you’re going for a high-gloss finish, then you’ll need to get yourself a buffing wheel and some polishing compound. These will bring out the shine in the instrument's finish, highlighting the beauty of the wood and your craftsmanship.
Final Thoughts
So, there you have it, all the luthier tools for guitar you could possibly need for your first electric guitar build. Depending on what style of guitar you are constructing, you probably won’t need all of them, so it’s best to buy them as needed and add them to your guitar repair toolkit.
In terms of budget, if you are only planning on building one guitar in your lifetime, then don’t buy the most expensive tools. However, from experience, Lutherie is a highly addictive hobby and most people end up building more than their first guitar as their skills improve and their idea of a dream guitar changes. As with everything, quality costs money, so go for the best quality tools you can afford, you could well be using them in a few yearsyears time for that three-necked guitar masterpiece you’ve always dreamt of owning!
If you like this article, please share it!
Be sure to join our FB Group Guyker Guitar Parts & Accessories Community to share your ideas! You can also have connections with like-minded guitar players, Guyker updates as well as discounts information from our FB Group.


