Setting a guitar up properly can change most instruments from “It’s ok to play” to “Wow, what an amazing guitar!”. And it doesn’t just affect the playability, a properly set up guitar will actually sound better for many reasons, such as the pickup height being the correct distance from the strings, etc.
However, most guitars I pick up and play are not set up properly. This could be down to financial issues because a professional setup isn’t cheap. But I think the main reason is that so many guitarists preach on the internet that setting up a guitar isn’t difficult.
In many respects they are correct, the fundamentals of setting a guitar up are quite basic, as I will go over soon. However, the fundamentals of tuning a car engine are also quite basic but 99% of people take their car to a garage to have it done properly by mechanics who have mastered the craft by tuning engines daily.
Many guitarists are convinced that their attempt at setting up a guitar, which they do every 12 to 18 months or so for a few hours will produce a result as good as a professional luthier who could well be doing it multiple times every day.
But, I’m getting ahead of myself, so let’s start with the basics and go from there to answer the question… Should you set your guitar up yourself, or let a professional luthier do it?
Guitar Set Up - What’s Involved?
Setting up a guitar involves making numerous adjustments and performing other maintenance tasks to optimize a guitar’s playability, sound, and condition. The result is an instrument that feels comfortable to play, sounds great, and is in optimum working order.
Depending on the type of guitar and if there are any major issues, a setup normally consists of:
Truss Rod Adjustment
Optimizing the neck’s curvature (relief) to prevent fret buzz and ensure good action.
Setting the Correct Action
Adjusting the height of the strings to the preference of the guitarist who will be playing the instrument. Most will want the action to be very low, making the guitar easier to play, however, if the instrument will be used to play slide, a higher action will be needed.
Intonation Adjustment
Ensuring the guitar is in tune on all sections of the fretboard.
Nut Height and Slot Filing
Adjusting nut slots to ensure the desired action is achieved and to improve tuning stability.
Bridge and Saddle Adjustment
Setting the right bridge/saddle height and angle for the optimum tone and sustain.
Pickup Height Adjustment
Balancing the output of each pickup for even volume across strings and between the various pickups.
Fretboard Cleaning and Conditioning
Cleaning the fretboard and, if it’s rosewood, ebony, or some other wood, conditioning it with oil.
Fret Leveling and Polishing
Smoothing out any uneven frets.
Electronics Check
Ensuring pots, switches, and jacks are working properly.
Restringing
Putting a fresh set of strings on.

As I mentioned in my introduction, the steps involved are not rocket science, so let’s dig a little deeper and find out…
How to Set Up Your Guitar
Nearly all the tools needed for a basic guitar setup are commonly used for simple household DIY tasks, so you should have most of what’s needed in your toolbox. They are…
-
Allen wrenches for truss rod and bridge adjustments
-
Various sizes of Screwdriver for pickup height and bridge adjustments
-
String action ruler or feeler gauge
-
Small file for nut slot adjustments
-
String winder - convenient but not 100% necessary
-
Capo
-
Tuner
-
Lemon oil for fretboard conditioning
-
Soft cloth
1. Change the Strings
Remove the old strings and clean the fretboard. If it's rosewood or ebony, apply a small amount of lemon oil to condition it. Then restring the guitar.
2. Adjust the Truss Rod
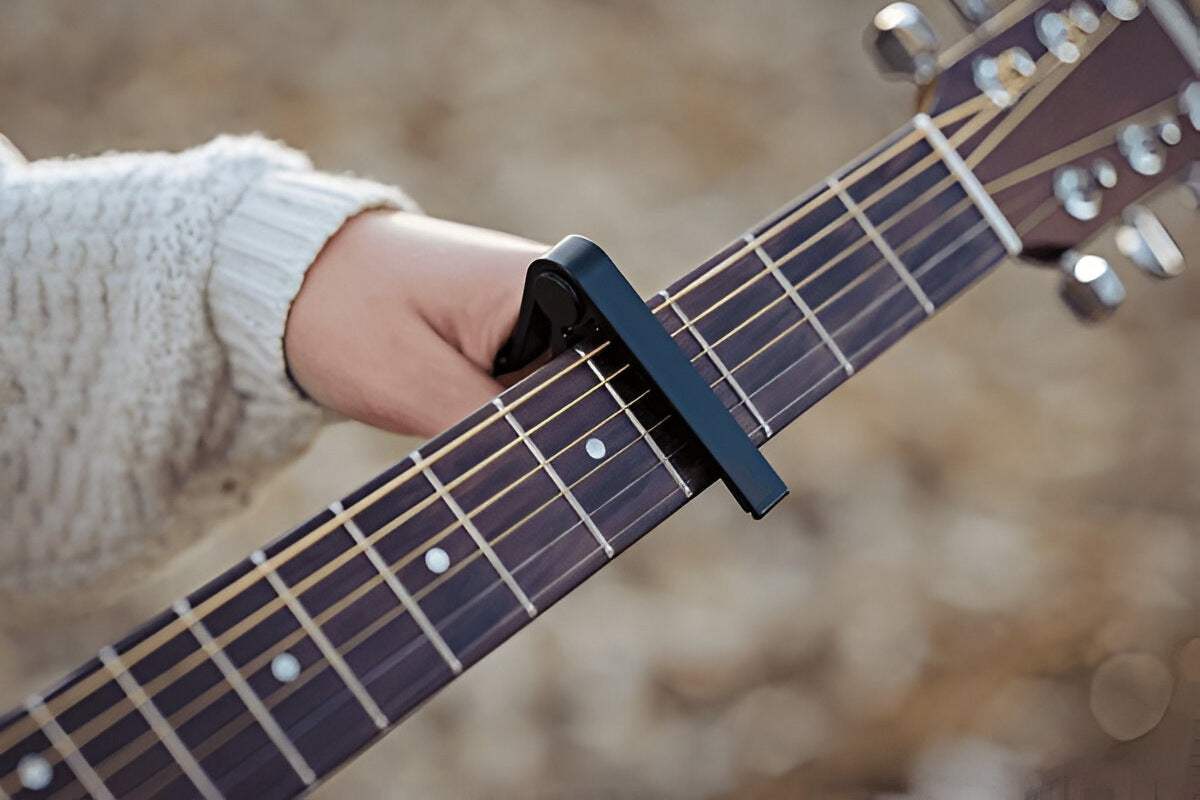
Place a capo across the first fret and press the low E string on the last fret with your finger. Now check the gap from the top of the 8th fret to the string. It should be around 0.25mm which is the thickness of a business card. If it’s greater than that, tighten the truss rod by turning it clockwise. If it’s smaller or touching, then loosen the truss rod by turning it counterclockwise.
WARNING
Only make small adjustments - a maximum of a quarter turn - at a time and then give the neck time to settle. Then measure again and make any further adjustments necessary, but again only a maximum of a quarter turn. Turning truss rods too far can lead to the lacquer cracking behind the neck, or worse still, completely ruining the neck.

Photo Credit: Guitar.com
3. Set the String Action
Remove the capo and measure the distance from the top of the 12th fret to the bottom of the string. For most electric Guitars, it should be around 1.5mm for the high e string, and 2mm for the low E string. For acoustic Guitars, 2mm for the high e string and 2.5mm for the low E string. And for Bass guitars, 2mm for the high G string, and 2.5mm for the E string,
Adjust by lowering or raising the saddles on the bridge for electric guitars and basses, or by carefully sanding the saddle down for acoustic guitars.

A very affordable Junlego String Action Ruler
4. Intonation
Using a tuner or tuning app, perfectly tune the low E string. Now play the harmonic above the 12th fret, and compare it to the note on on the 12th fret. They should be exactly the same.
If the note on the 12th fret is sharp, move the saddle backward (away from the neck). If it’s flat, move the saddle forward (toward the neck). Now retune the open string and repeat the process until the harmonic and the note on the 12th fret are exactly the same. Then repeat the whole process for each string.
5. Check and Adjust the Nut Height
Play the note on the third fret of the low E string and check the gap at the first fret. If the string is too high, carefully file the nut slot. If the string is too low, you will more than likely need a new nut. Then repeat the process for every string.
6. Adjust Pickup Height
Press the note on the last fret of the low E string with your finger and measure the gap between the string and the top of the pickup.
The string should be between 1.5mm and 2.5mm above the bridge pickup and between 2mm and 3mm above the neck pickup. If you have a three-pickup guitar such as a Stratocaster, the string should be 1.75mm to 2.25mm above the middle pickup.

Photo Credit: ArtistGuitars.com
Adjust the height by turning the screws on the edge of the pickup. If you want more output, move the pickup closer, if you want a warmer tone, keep the pickup further from the strings.
7. Clean and Tune
Wipe down the guitar with the soft cloth and tune her up. You’re now ready to see how much better she feels, plays, and sounds.
DIY or a Professional Luthier?
That’s it, congratulations, you’ve just completed your first setup and with practice/experience you will get better and better at it. But most average players only need to do a full setup every 12 to 18 months, so unless you have a lot of guitars you won’t be doing a setup that often.
I have done many set-ups over the years, and I would say that I can take an average guitar and make it play, feel, and sound far better after I have set it up than it was before. However, when I gave one of my guitars to my Luthier, he gave me a completely different guitar back. The difference is unbelievable, he gets the action as low as it will go, and it just feels and sounds like a dream.
So, even though I am more than capable of doing the work myself, the results just aren’t as good, so I will continue taking my guitars to him.
How Much Does a Pro Guitar Set-Up Cost?
The cost of a professional guitar setup will obviously vary greatly depending on what country you live in, the type of guitar, and how much work needs to be done. But here’s a general price range based on the cost across the USA.
Basic Setup - from $40 to $100
This normally includes adjusting the truss rod, action, intonation, and pickup height, as well as checking the nut and bridge height, fretboard cleaning, and installing a new set of strings which may or may not be included in the price.
Advanced Setup - from $80 to $150
Includes everything in a basic setup plus fret leveling and polishing, nut filing or replacement, deep fretboard conditioning, checking, and minor fixes to electronics.
Additional Extras
-
Full fret leveling and dressing - $80 - $200
-
Complete re-fret - $250 - $500
-
Nut replacement - $50 - $120
-
Electronics repair - $40 - $150
Wrapping it Up
You should now know the best way to set up your guitar and I strongly advise you to have a go at doing it. If nothing else it will make you better understand how your guitar works. You can’t really do any damage to your guitar while setting it up as long as you remember that you can only adjust a truss rod by a quarter turn at a time, so you have nothing to lose.
However, as with my car, I will get it serviced and tuned by a professional who does the job every day because I will never be able to do it as well as he does. And the same goes for my guitars, however hard I try, I just can’t get them as nicely set up as a professional who has been doing it all his life can.