Have you ever dreamt of having a one-of-a-kind guitar that reflects your own style? Painting your guitar body is a fantastic way to bring this vision to reality. Not only does it give you the chance to showcase your creativity, but it also transforms the aesthetics of your instrument.
However, the process to paint a guitar body can be challenging, especially if you are doing it for the first time. Worry not! Our comprehensive guide explains every step in detail, from selecting the right materials to applying the final touches. So you can have all the information required to create a masterpiece.
Let’s begin.
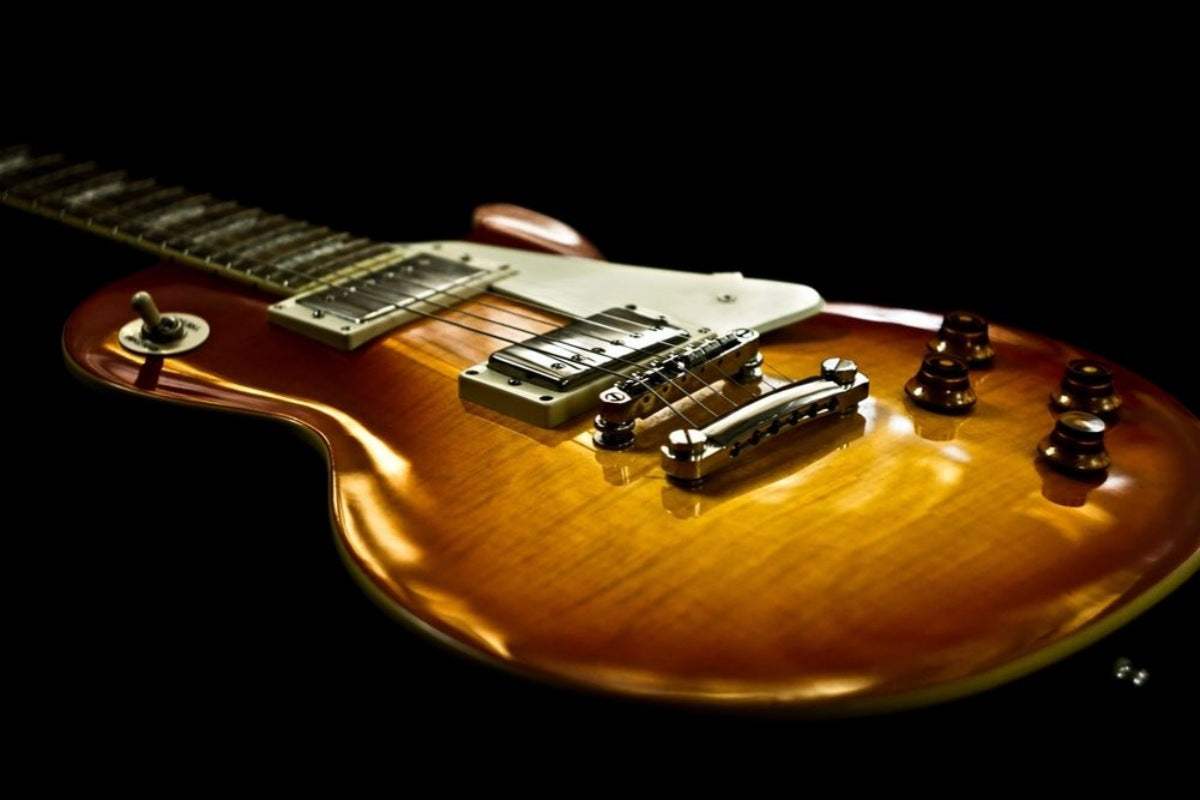
A Comprehensive Guide to Paint a Guitar Body
Painting a guitar body requires you to follow multiple steps with careful attention to detail. Let’s dig deeper into this guide that discusses it all, including the required materials:
Required Painting Guitar Hardware
You’ll need the following items to paint a guitar:
- Sandpaper of different grits
- Cleaning supplies like a rag and microfiber cloth
- Painter’s tape
- Good-quality sealer
- Paint
- Clear lacquer coat
- Ventilation mask
- Gloves
- Heat gun/ hair dryer
- Automotive or wood filler
- Car polish
Steps to Paint Guitar Body
Wondering how to paint my guitar like a professional? The steps to do so are listed as follows:
1. Preparing the Guitar
To start painting your guitar, you must first remove all the hardware like knobs, strings, faceplate, and pickguard attached to it. Similarly, you also need to cut wires that hold the bridge and pickups in place and re-solder them later. If you’re unsure about this process, take your guitar to a professional for quick and safe disassembling.
Use a heat gun or a hair dryer at their lowest settings to loosen the existing paint. Simply move either device evenly on the guitar’s body and test the paint with a putty knife after 5 minutes. If it has softened, then start scrapping it gently. Keep working until you can see the natural wood grain. However, be careful, as you may end up damaging the wood in the process.
2. Sand the Guitar’s Surface
Next, it’s time to prepare the surface by sanding down the guitar body with a 100 grit sandpaper. This step is crucial to eliminate any debris, grime, or old paint, so you can paint your guitar smoothly. The key is to start with rough sandpaper and sand the guitar’s body in the direction of the grain. You can then gradually move towards the smoother (200 grit) one for smaller irregularities.
Sanding down the guitar body may not get rid of any bumps or divots. To smooth them out, you’d need an automotive filler, such as Bondo, which is readily available online or at auto supply stores.
Prepare the filler by following the manufacturer’s instructions and apply it over all the imperfections with a plastic scraper. Give it 20 minutes to dry and set.
Pro Tip: To ensure a uniform finish of the guitar’s body, make sure to sand down the filler with coarse grit sandpaper.
3. Sealing the Wood
Position your guitar with its back facing upwards on a flat surface with a piece of cloth underneath it to prevent paint stains. When it comes to selecting an appropriate wood sealer, buy a water-based product with a high gloss finish. If you’re painting your guitar with a lighter color, then go for a white sealer; otherwise, a gray sealer is a suitable option.
Apply the sealer with the help of a dry rag - gently drag it along the guitar’s wood grain. However, make sure that the sealer does not reach electronic cavities or the neck pocket. Let the guitar body dry completely before you apply 3 to 4 coats of this sealer. You must wait for at least 2 hours between putting each coat to ensure the paint adheres to the surface better.
Let the guitar dry for a maximum of three days in a well-ventilated area. Also, sand the sealer’s shiny areas yet again with a 200-grit sandpaper to create a stable surface.
4. Painting the Guitar Body
Before you start painting, the guitar must have a consistently dull appearance. If not, reapply the sealer and repeat the above-mentioned steps again. Now it’s time to choose a suitable paint to use on a guitar from available options like polyester, polyurethane, or nitrocellulose. Every material has some distinctive characteristics, so select accordingly.
For instance, polyurethane or polyester are more suitable if you require a harder, plastic-like finishing for your guitar. In contrast, nitrocellulose offers a lighter and thinner coat. You can also paint your guitar with acrylic, as it provides good coverage and vibrant colors.
To paint properly, follow the below steps:
- Mask off the neck pocket with tape, leaving about a 1/16-inch gap around the edges. This prevents paint build-up, ensuring easy reassembly of the neck.
- Spray paint a guitar body, starting with its edges and then proceeding toward the front and back sides. Keep the can’s nozzle approximately 12 to 28 inches away from the surface, and use linear strokes back and forth for a neat finish.
- If you want to paint splatter guitar, then use contrasting colors for a more dramatic effect. Experiment with different distances and angles to find what looks best.
- Allow the surface to dry and spray 3 to 7 layers until the paint looks richer and there are no drips or runs. Remember to wait for 5 minutes between spraying each coat.
- After application of the guitar’s base color, let it dry completely for at least two days in a ventilated area. Then, move your fingers over the surface to check if it’s smooth. In case there are any bumps or raised spots, then sand it down gently with a 400 grit sandpaper after soaking it in water overnight.
Pro Tip: Allow at least 12 hours of drying time between each coat of paint to ensure it dries uniformly.
5. Spraying the Clear Lacquer
Applying a clear lacquer after painting a bass guitar will not only enhance its shine but also protect the paint. You can find it at any home improvement store or order online.
The application method is similar to that of spraying the base coat. Simply spray 4 separate layers on the guitar’s body evenly. Give each layer almost 90 minutes to dry before applying the next. Now, leave the guitar untouched for 21 days so that the paint solidifies to a rich color.
6. Sanding and Polishing (Final Touches)
You might observe dust specks or other imperfections on your electric guitar paint, which doesn’t look professional.
To mitigate this, follow the below steps:
- Sand down the surface with wet or dry sandpapers of different grits one after another. Start with P800, then gradually proceed to P1200, P1500, and finally P2000. Pay close attention to any small shiny spots, as these indicate remaining imperfections.
- Once the surface is uniformly matte, use a rag saturated with car polish in circular motions. This step refines the lacquer coat you applied, giving it a mirror-like shine.
- Remove the extra polish by gently wiping down the guitar body with a clean piece of cloth.
7. Reassembling the Guitar
Reassemble the guitar by following the below steps:
- Place its shielding back into the electronics compartments.
- Reconnect and solder the wires from the bridge and pickups to the appropriate wires within the guitar’s body.
- Position the bridge and pickups onto the front of the guitar and secure them using the screws.
- Attach the neck to its body and screw it in place.
- Reattach any knobs that you removed.
8. Aging and Cracking of the Varnish
If you want to give your guitar a vintage look, there’s an option to age it artificially. Moreover, you can also create a cracked varnish effect.
Here are some easy steps to do this:
- You can start by mimicking battle scars on your guitar. Lightly tap the finish with a small tool to simulate wear. This creates areas of different surface tension and directs any subsequent cracks toward these artificial wounds, enhancing the aged effect.
- For cracking, place the guitar painted with nitrocellulose in a freezer at -20 degrees Celsius for an entire day. The cold will contract the wood, and the paint will crack under the stress due to its less flexible nature.
- Apply a water-based dye with a cloth to deepen and highlight the cracks. Wipe away any excess to ensure a clean, realistic effect. Repeat the freezing process for additional cracks.
Discover Top-Quality Guitar Parts and Accessories at Guyker
Are you looking for top-quality guitar parts to upgrade or customize your musical instrument? Guyker offers a comprehensive selection of precision-engineered components, including robust guitar tuners, versatile bridges, stylish knobs, and high-performance pickups. Have a visit!
If you like this article, please share it!
Be sure to join our FB Group Guyker Guitar Parts VIP Group to share your ideas! You can also have connections with like-minded guitar players, Guyker updates as well as discounts information from our FB Group.