Chances are that if you’re here, you’re playing with the idea of making your dream axe a reality. Well, let me tell you that in this post we’ll discuss everything you need to know about taking this bold step forward.
We’ll go from the basics to the road-testing stage.
Once you finish this piece, you’ll have a very clear idea of what it takes to build your guitar. But that’s not all, because you’ll also be aware (with real examples) of the decisions you have to make along the way to steer your project in the right direction.
Oh, and I’ll drop some tips so you won’t make the same mistakes I made in my first build.
Deciding the Basics
Before we go into any technical aspects of making a guitar, it’s important to make some decisions. If you don’t plan your build, you’ll encounter more pitfalls than sure ground to walk; especially if this is your first.
Creating Something That’s Not in the Market or a Classic with a Twist?
Not finding the guitar you want in the market is one of the main reasons to make a guitar. Another chance could be giving a special twist to a classic, something that Fender has been doing a lot lately with series like the Gold Foil Series.
But another possibility, and perhaps the biggest reason, is to make a guitar as a hobbyist. Yes, it’s possible to play something you’ve made with your own hands, and it feels great.
So, the first thing you need to define about the guitar is the design. We’ll go through each step and what you need to have to create that dream ax. But before you begin building, you need to have the design decided.
If you’re building a classic, google the blueprints in the shape of PDF files and print them. If you’re going for a new design or want to add a personal twist to it, make sure you have your designs checked by an experienced luthier.
You can fix most of the problems you might have with your design before even touching the guitar with a chisel.
Decisions about the Body
Let’s start with the decisions you need to make about the body. These come first and the wood to make the body is going to define much of the guitar’s resonance and tone. Read different types of wood to make guitar.
Make sure you take note of the dimensions you need so you can buy a little extra just in case. Also, print out the blueprints in 1:1 scale so you can transfer it to the wood and start working on it.
Tone Wood, Replacements or the Real Deal?
The first thing you need to decide is your guitar’s tone wood. This will define many things in the resulting instrument
This decision is going to have a huge impact on your budget. So, that’s the first thing to acknowledge; the real deal is expensive. Let me give you some alternative woods that you can work with as well.
As a rule of thumb, instruments that gravitate toward rock music and heavy genres like metal work great with mahogany. That said, mahogany is becoming increasingly difficult to find and more expensive.
These woods are great replacements:
• Sapele
• Khaya
• Lacewood
Alder and ash are the main options for guitars that can propel the mids and treble forward (Strats and Teles, for example). Ash resembles more of the ‘50s vibe because that’s what Fender used back then. In the ‘60s they began making guitars with alder.
One thing you should know is that ash is very inconsistent from plank to plank while alder is more consistent. That said, if you’re looking to make a very light guitar, go for ash, otherwise, alder is more balanced.
These are great replacements:
• Poplar
• Maple
• Pine
Finding Balance, a Must
Different pieces of wood have different characteristics and tone-wise, they differ drastically. Therefore, finding a balance between the pieces is a must. This is something you can do with just a mallet.
Hold the soon-to-be-a-guitar-body wooden piece in the air and hit it with the mallet to check on the frequency response. If it sounds bright or dark, make sure you pick the neck wood to counteract that tendency.
If you have a bright-sounding body and a bright-sounding neck, you’ll probably end up with a shrill guitar. On the contrary, if you use a somewhat darker or mellower piece for the neck, you’ll even out the equation and end up with a better-sounding instrument.
One Piece or More?
Guitars can be made of one piece of wood or of several pieces. This affects a guitar’s resonance and sustain. Although you might be tempted to answer that you’d only make a guitar from a single piece of wood, most mid-priced instruments in the market are made of two pieces.
If you’re making a guitar with a more expensive or exotic wood type like mahogany or korina, it’s easier for you to find and buy two separate, smaller pieces to make the body.
I wouldn’t recommend going for more than three in a conventional solid-body guitar.
Once you have them, make sure you erase all signs of unevenness before gluing them together. You can do the light test. For that, you need to expose the wood pieces held together in a gluing position to a light source. If you can see the light, you need to sand some more.
Only once the surfaces are smooth and you can’t see light going through, you should glue and leave it clamped down to dry overnight.
Shape & Dimensions
The shape and the dimensions of your guitar body shall be specified in the blueprints. You’ll have to carve out the dimensions from a chunk of wood. Let me tell you that tone wood is usually very hard.
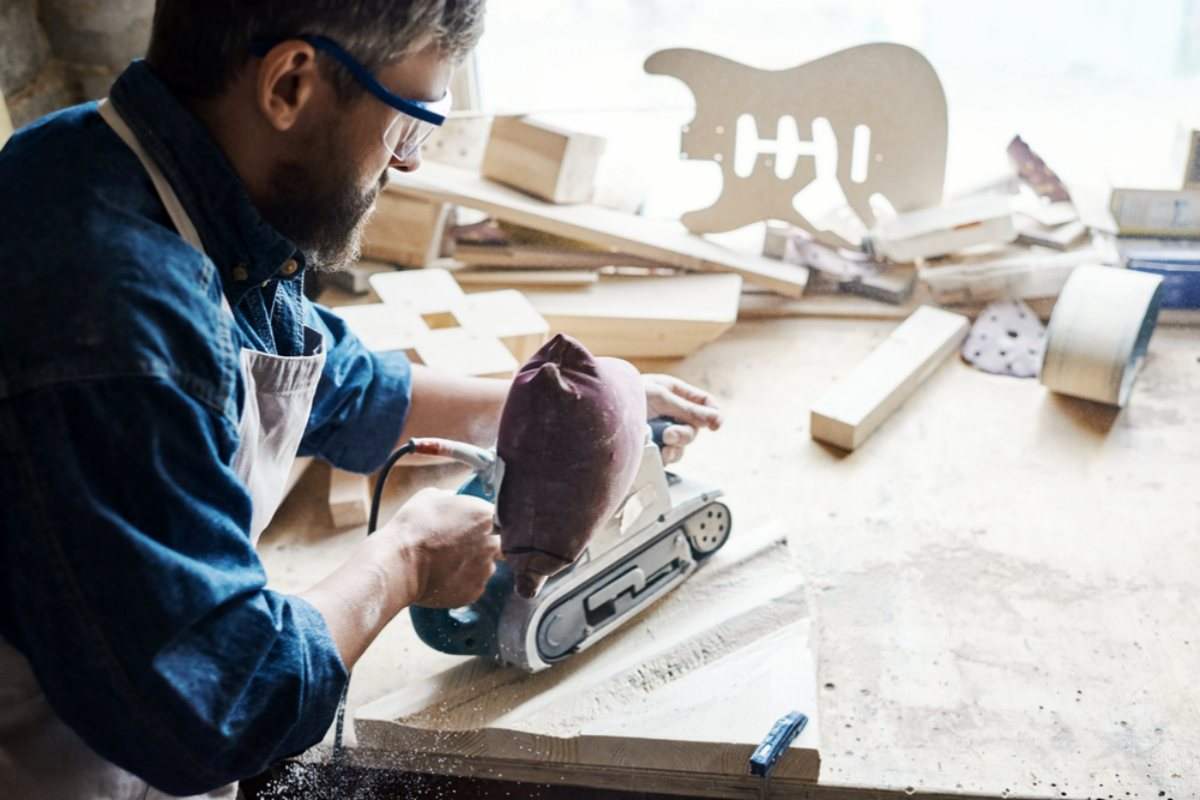
So, step number one is transferring your design to the wooden piece you just created. Once you’re ready, use a saw to approximate to the design and then a chisel and a rasp until it’s time to sand down the final touches and make it smooth.
Archtop Guitars
If you’re building an archtop guitar such as a Les Paul, you’ll have to take two extra steps.
The first is attaching the top to the body. Perhaps you want your guitar to have a book-matched flame maple top. Well, all you have to do is glue the piece of maple to the piece you’re making the body with. Then, leave it overnight in the press.
The second, once the body and top are glued, is to carve the archtop. You need to create the shape with your chisel leaving the center at the original height while taking wood away toward the sides.
Finish
The finish on a guitar is something that’s entirely attached to personal taste. You’ll read and hear a lot about the difference between nitrocellulose and polyester.
Well, we’re going to talk about that difference but also about the colors, the lacquer, and what paint you should use depending on the decisions you’ve made for the body.
Body Wood & Paint Decisions
Some species of tone wood are more pleasing to the eye than others. For example, if you’re making an archtop guitar with a head-turning flamed maple top, then you should definitely not paint it in a solid color.
On the contrary, if you’re making a four-piece Strat with a bargain you had at the lumber shop, you might want to hide that odd-looking combination of wood under a solid color.
Perhaps, the main piece of advice in this regard is: don’t spend extra if you’re painting over it. You should prioritize weight and tone before looks if it’s a solid-color guitar and vice versa.
Colors & Materials
You’ll hear that a polyester finish will clog the wood’s ability to breathe and hence you’ll have less sustain and a dull tone.
You’ll also hear that nitrocellulose is better because it’ll allow your guitar’s tone wood to sound better, vibrate more, and give you more sustain.
Both affirmations might be true; you need a very sharp ear to tell that difference, though. But beyond tone, there are two very important differences I need to point out about these two materials.
Firstly, polyester is easier to apply, dries faster, and you need less paint to cover your needs. Nitrocellulose will dry slower, and the wood will absorb more of it, so you’ll need more paint.
Secondly, polyester doesn’t age like nitrocellulose, it doesn’t fade with the sun and wear. In other words, it doesn't look as cool as nitro with time. Also, while nitro looks killer in road-worn and relic instruments, polyester won’t wear out but chip off, sometimes in big chunks.
I say that if you have the budget and the time, nitrocellulose will always be the best bet in the long run.
Decisions about the Neck
Necks for guitar players are deal makers or deal breakers. There’s no way around it.
Moreover, taste in guitar necks is as personal as it gets. Each of us has a profile, thickness, and radius we feel comfortable with to play our best. Well, making a guitar for yourself means finding what the ideal neck is for you and trying to replicate it for the guitar you’re trying to build.
Let’s see what decisions you need to make to build your dream guitar with the perfect neck.
Fingerboard & Neck Material
The wood type you chose for the body made a big difference, you might have gone for a mahogany body with or without a maple top or an alder, pine, or ash body. Furthermore, you might have even chosen a maple body (despite how heavy it is).
Well, in that finding-the-balance effort, you need to balance that out.
This is the moment when planning your design really pays off. For example, if you wanted a guitar with lows to really bang on those thick strings but also needed some mids and treble to cut through the mix why not have a mahogany body with a maple neck? That’s what Jim Root from Slipknot chose for his utterly killer signature Fender Telecaster.
Perhaps you have a bright swamp ash body and want to add something that can even out those middle and treble frequencies. Why not have a mahogany or sapele neck with a rosewood fingerboard?
In case you want something snappy and treble-oriented, perhaps going for an ash body and maple neck with a maple fingerboard is the perfect way to go. Think something like Nile Rodgers’ tone.
Choosing The Neck Material Isn’t Just About Tone
Picking the neck material isn’t just a tone decision, there are more things to bear in mind as well as tone.
• Aesthetics – Have you ever come across a maple-neck Les Paul? What about an ebony-fretboard Telecaster? Well, since it’s your build, you don’t have to respect any clichés and you can create a new classic. Just beware that there’s an aesthetic component to this choice.
• Durability – When you’re making a guitar with an angled headstock and you use mahogany for that build, you’ll build a guitar that’s susceptible to neck snapping. That’s what happens when you drop a Gibson on the side or the front. In that case, you can opt for a volute or perhaps go for a stronger wood type, like maple with a rosewood board.
Then, There’s also Tone & Feel
Besides what you just read, the neck material you choose will give the guitar a definite sound and feel.
To start with, there’s a percussive element at work with a maple neck. This is especially true if you have a 25.5” scale. By maple neck, I mean regardless if it has a rosewood or maple fretboard.
If you’re after a tone and playing style that resembles anyone from Hendrix to Frusciante, then that’s the way to go.
Mahogany, sapele, and its derivates give the guitar a darker, mellower, more melodic tone. Again, this is especially true if you have a 24.75” scale. You’ll notice that bends are easier and have a beautiful round sweetness. So, if you want to go into the Slash-type sound realm, that’s the way to go.
Paul Reed Smith’s breakthrough into guitar-making mainstream has a lot to do with this topic. His guitars aren’t 24.75” or 25.5” but 25”. This way, what you get is a little more percussiveness than a Les Paul (or SG) and a sweeter tone with musical bends like a 25.5” Strat or Tele.
So, in summary, darker tone wood and a shorter scale will give you a less aggressive, mellower, more melodic, and round tone. A longer scale and a brighter tone wood will give you a more percussive and aggressive sound.
Building Your Dream Neck
Fretboard
The fretboard is something you can make even before you’ve roughly shaped the neck. This is regardless of the material and scale. Once you’ve decided on those, you can easily find the fret placement online.
So, glue the template over the fretboard material and use it to cut it into its final shape. Make sure you do this gently and slowly work it to make it taper. Also, remember to leave some room for the nut before the first fret.
With the template still glued down to the material, cut each individual fret with the saw to 1.5 to 2mm deep.
Radius
Once you’ve made the cuts, it’s time to shape the wood into its radius. You decided on the radius at the design stage, right? Let’s talk about radiuses a little so you know what these measurements mean from a player’s perspective.
As a rule of thumb, the higher the radius, the easier it is to shred, and vice versa.
• Vintage Radius – The 7.25” radius is the one used in old Fenders. One thing you have to know is that it’s very comfortable for playing chords and licks on the first frets but if you bend a string after the 12th fret, the note will very likely die.
• Modern Radiuses – Modern radiuses can go from 9.5” to 16”. Again, the flatter the radius (the larger the number), the easier it is to shred over it. The 9.5” is what an American Professional would have, 12” is what you’d find in most Gibsons, and 16” is what an Ibanez Jem has.
• Compound Radiuses – A very flat radius isn’t exactly comfortable for playing chords and riffs. The opposite happens with lower radius numbers in the final frets. So, welcome the compound radius. A good measure could be from 9.5” to 14” for example.
The Right Tool, A Very Boring Time & Lots of Patience
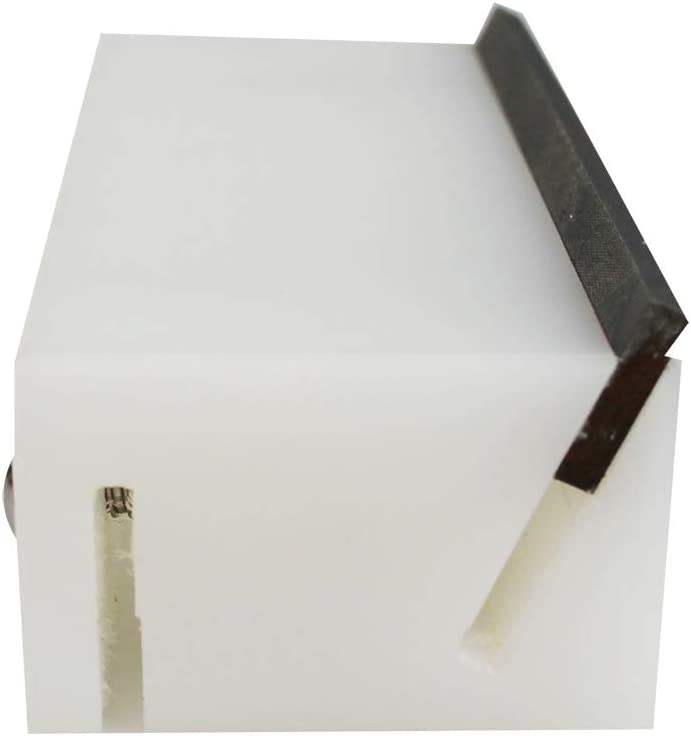
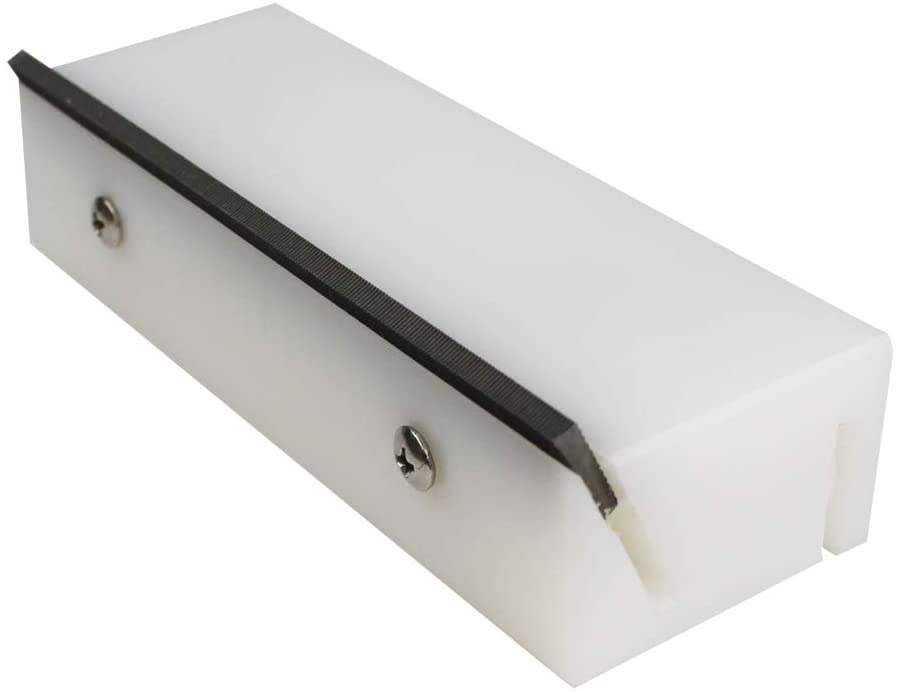
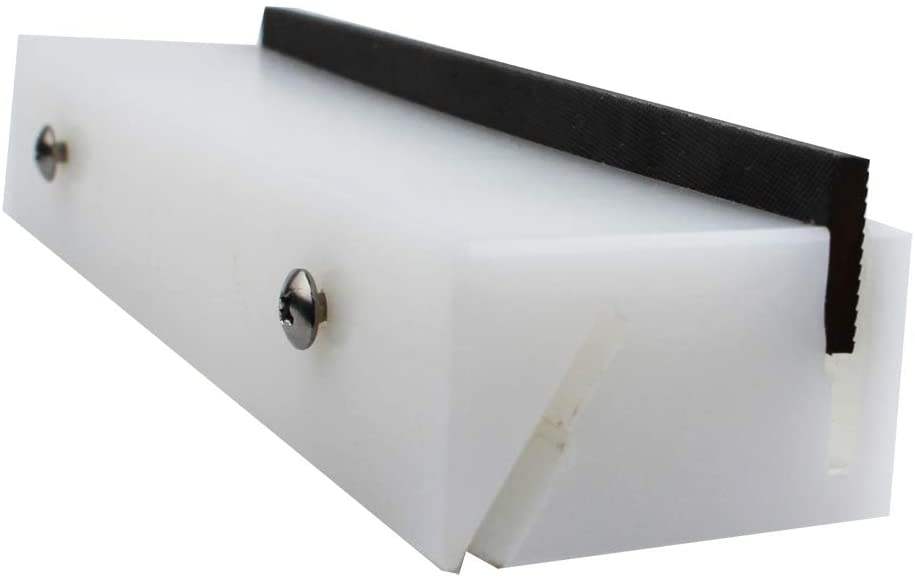
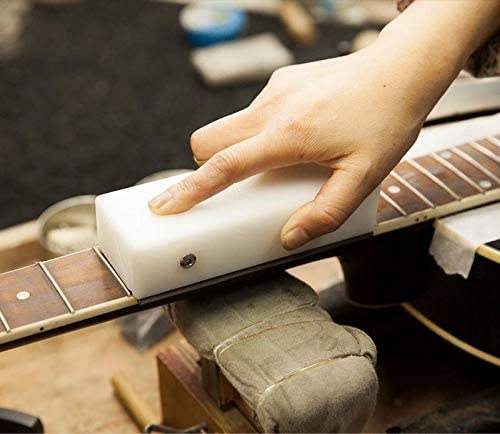
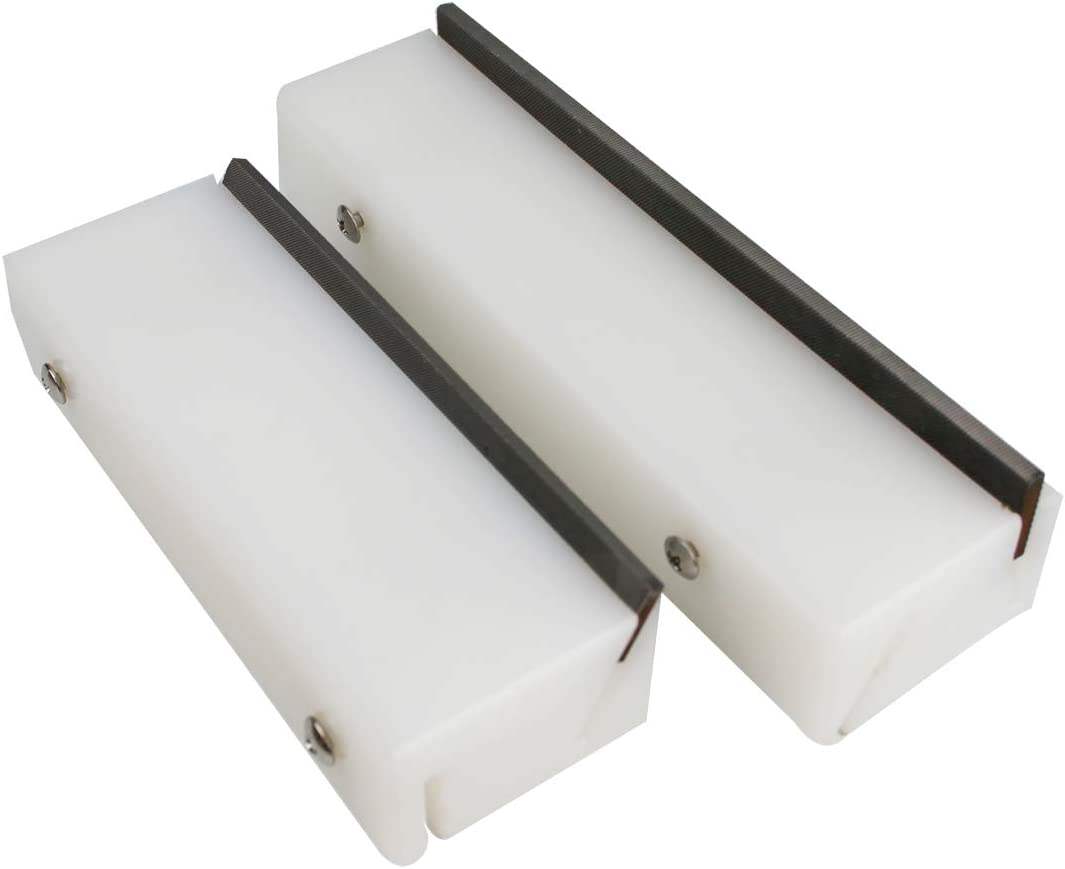
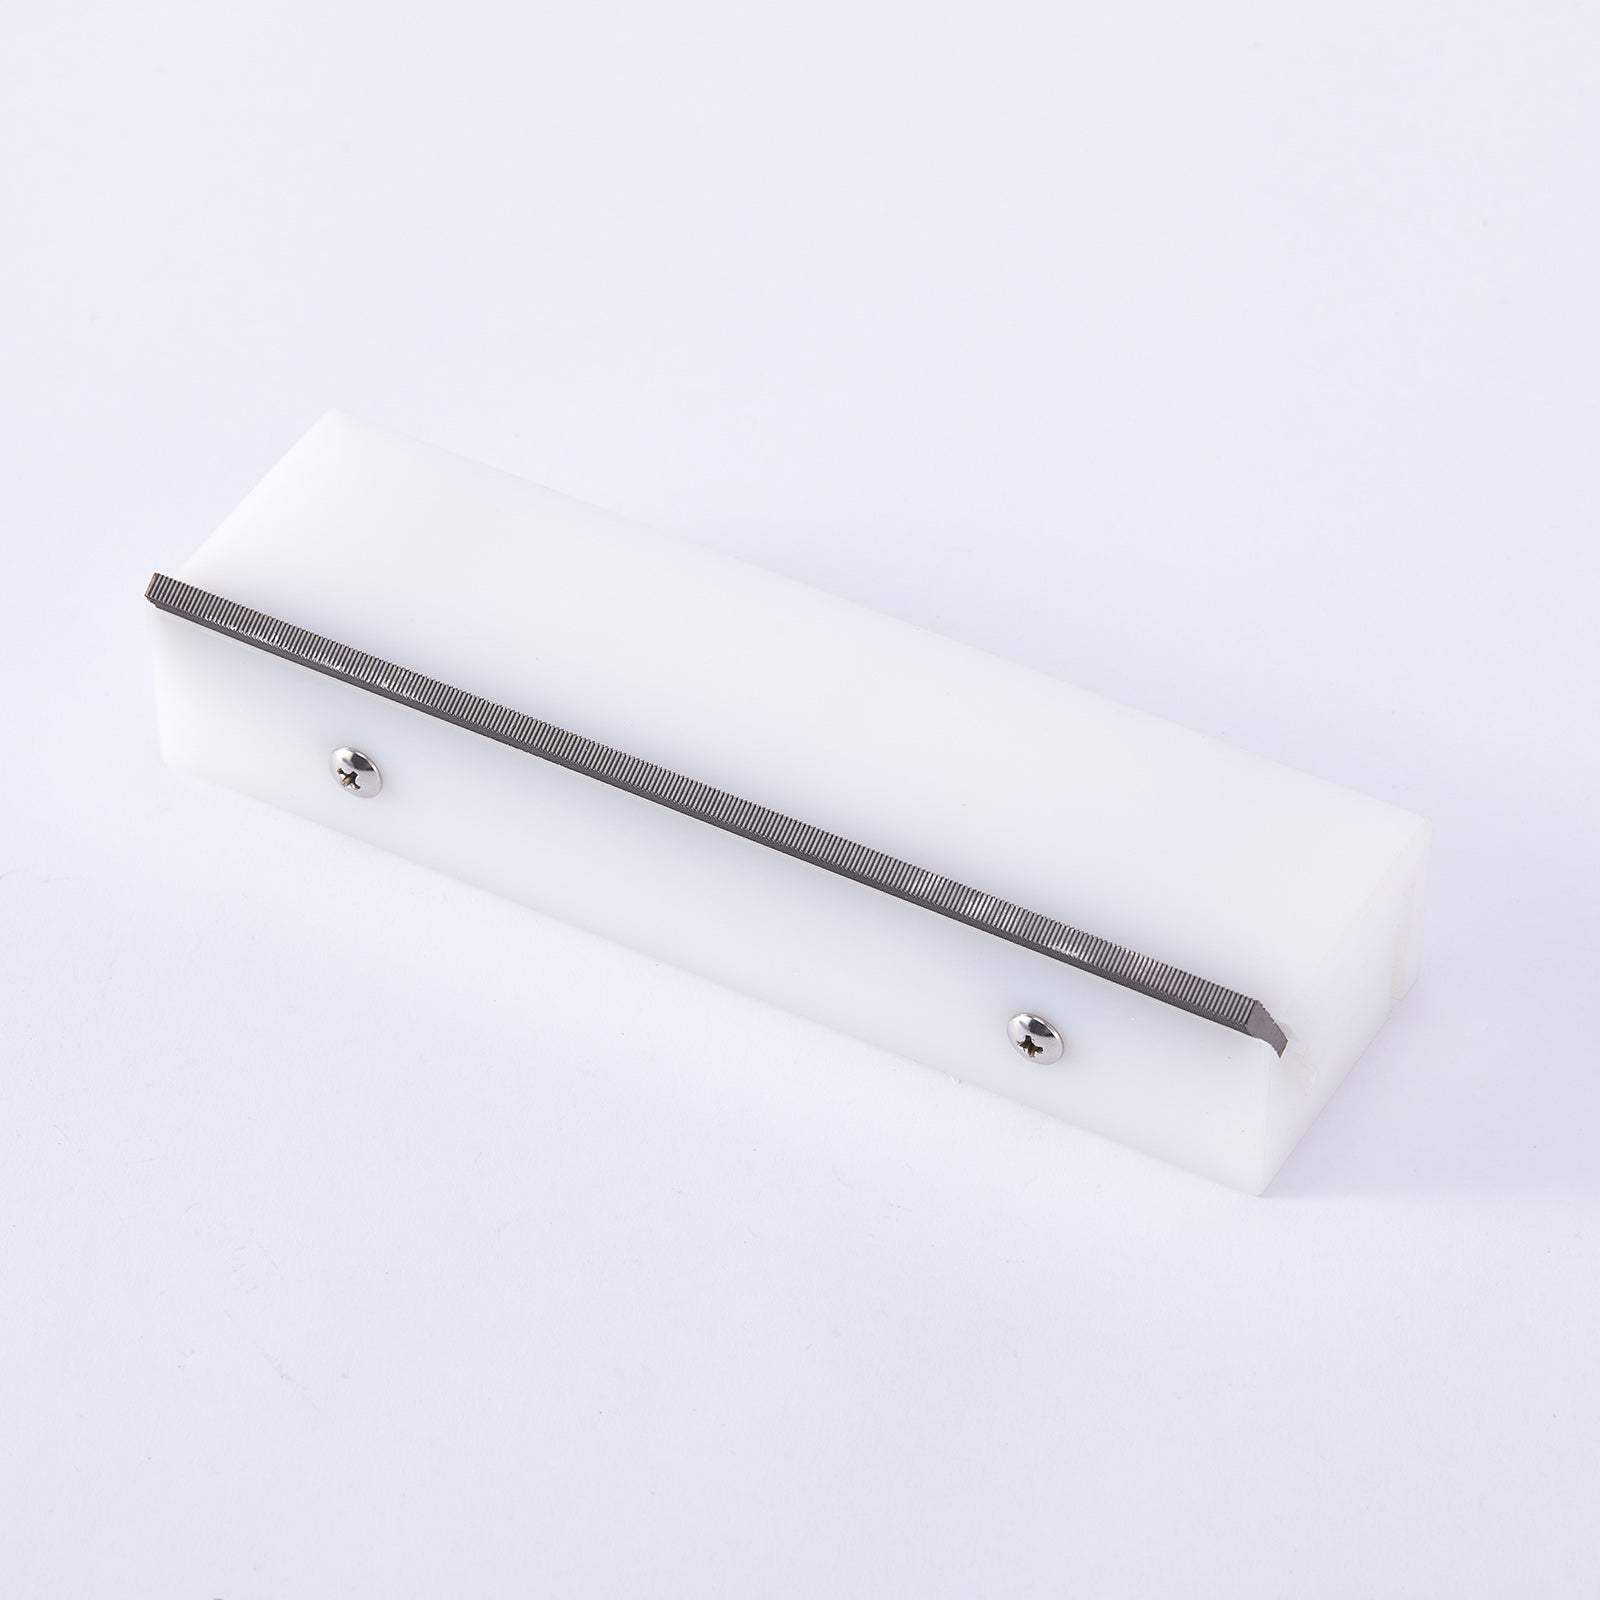
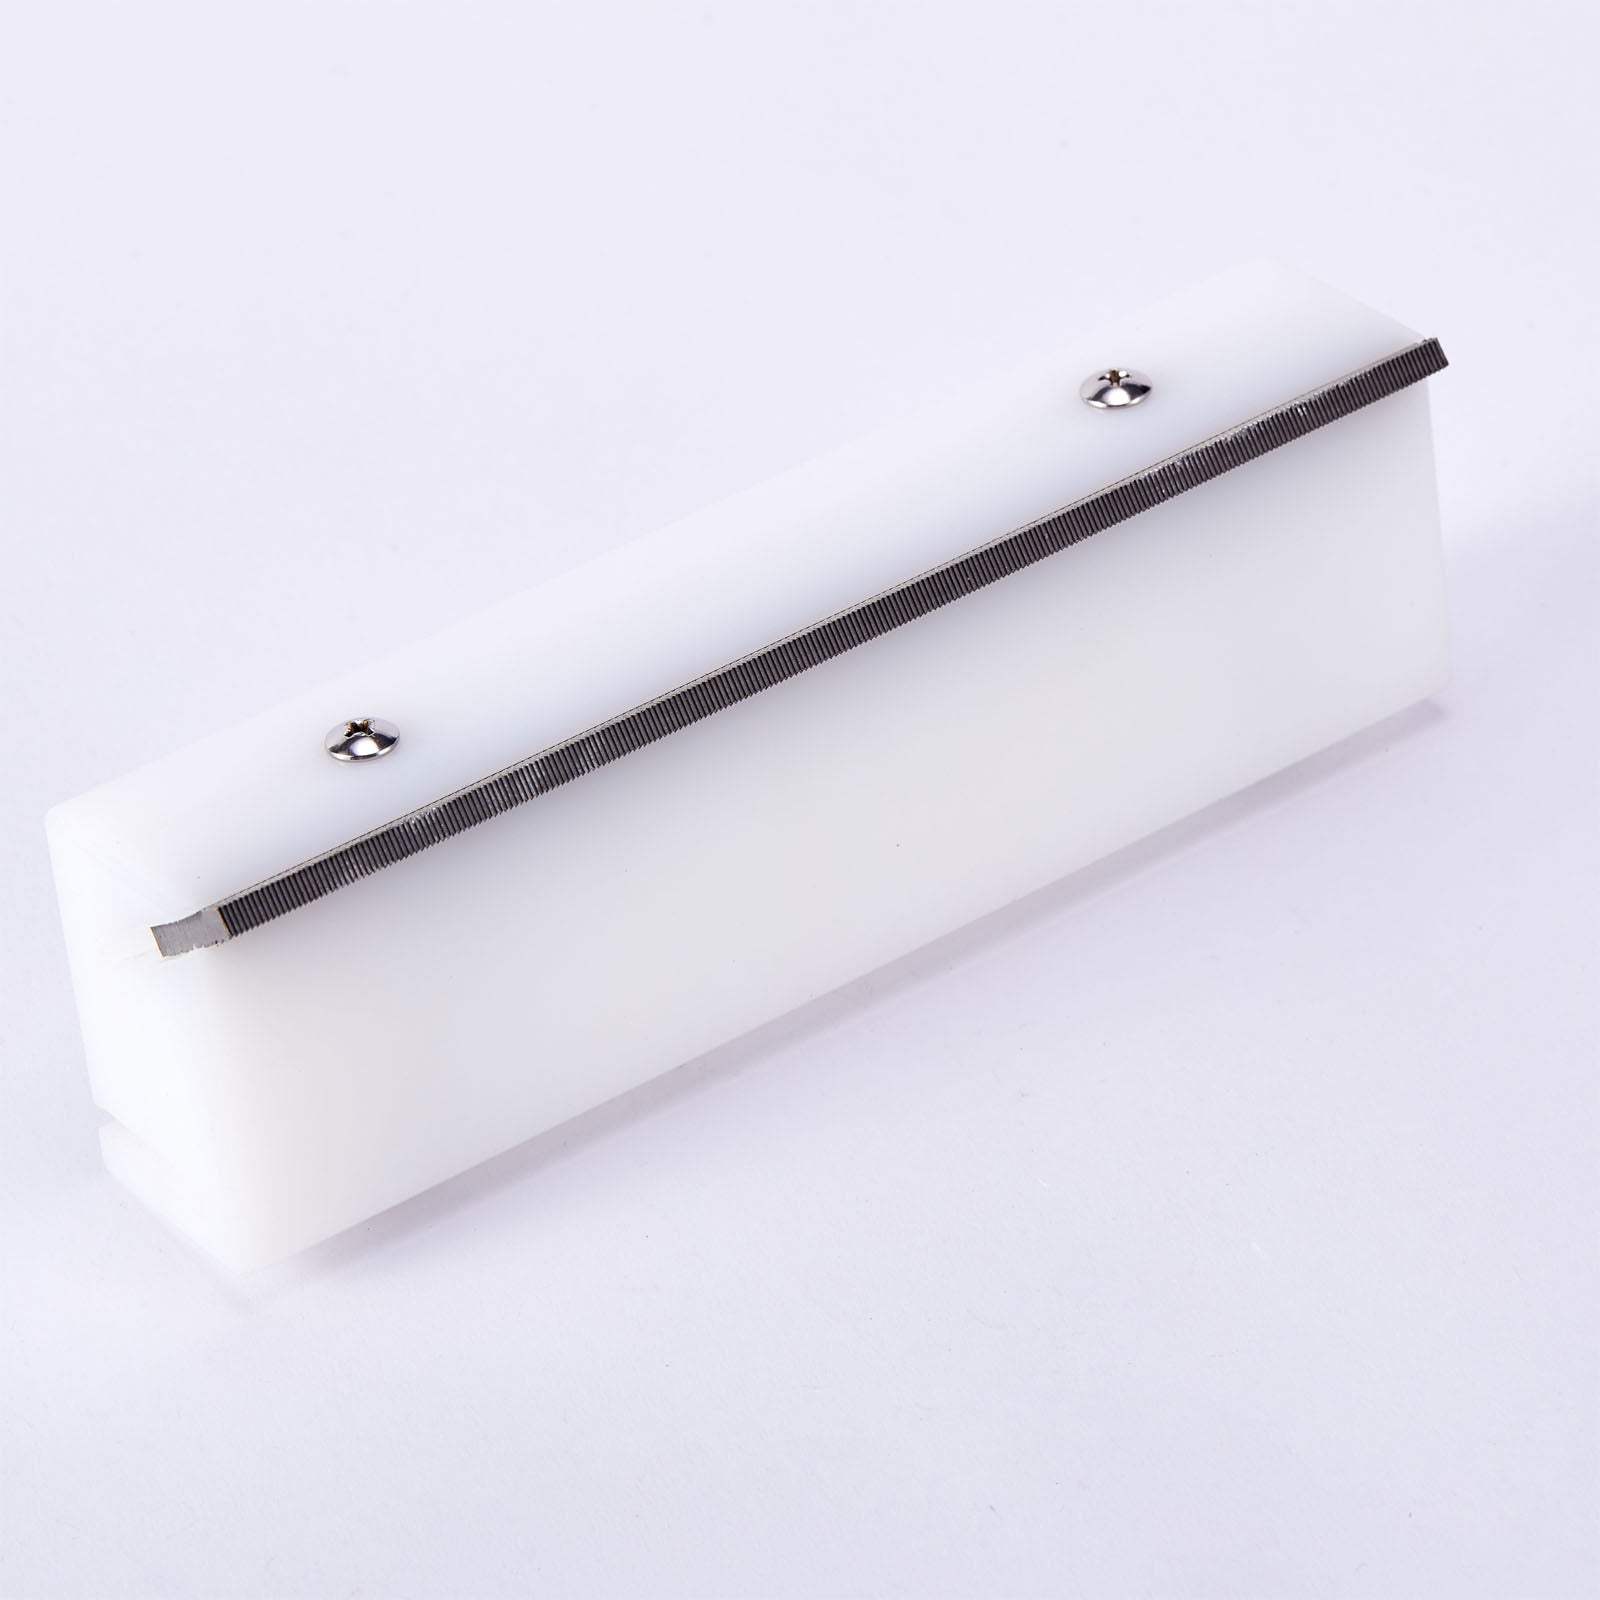
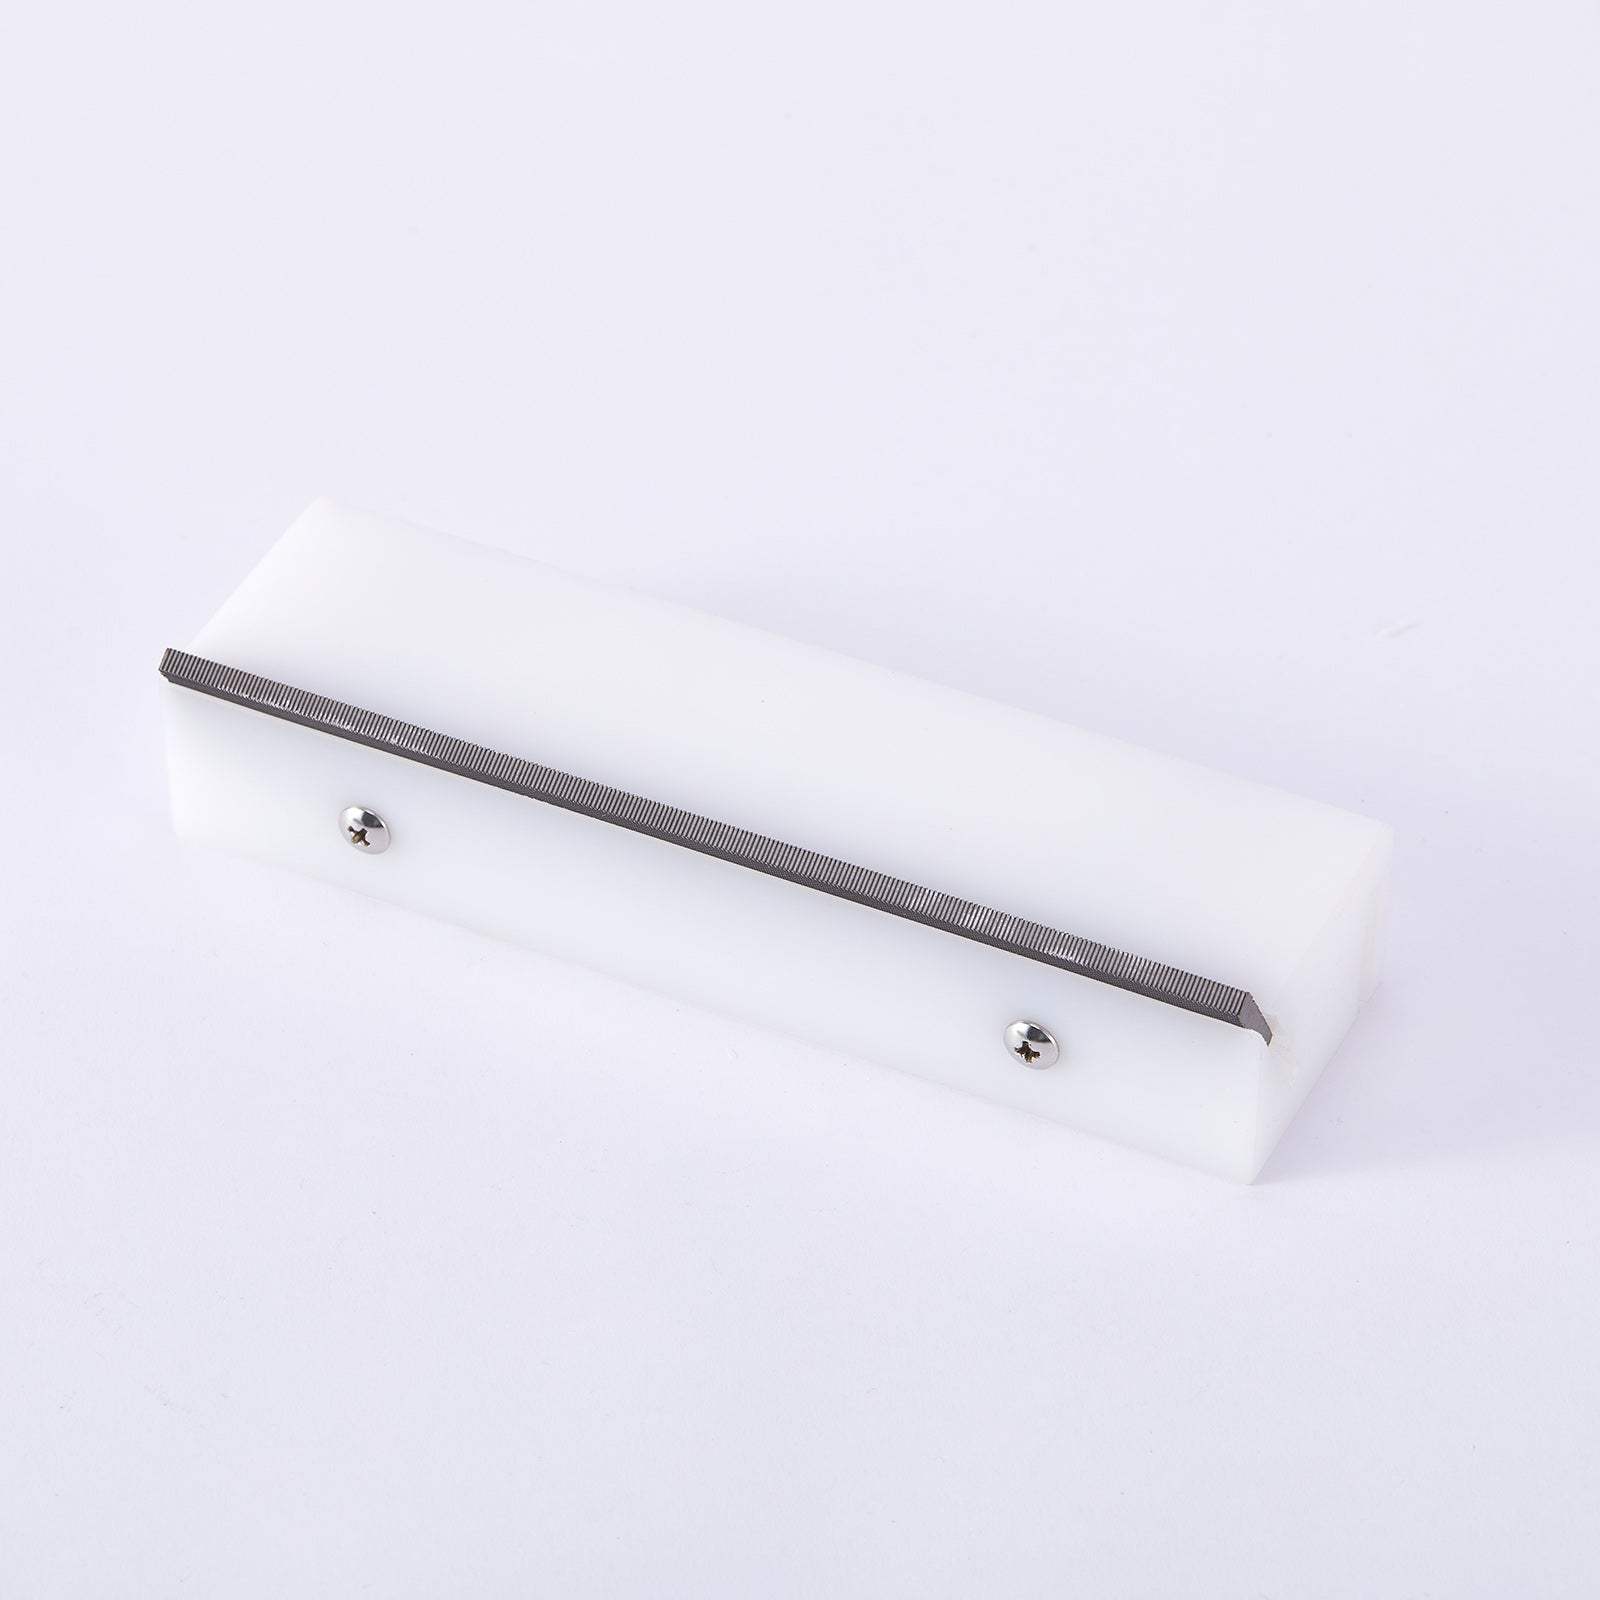
To shape the fretboard you need a lot of patience and a special tool named radius sanding block. Let me give you a few tips to use it so you just bore yourself with repetition but don’t have a bad experience.
First, glue the fretboard into place with two-sided tape. This is a great way to prevent the clamps from getting in your way as you sand it down from side to side.
Second, use a pencil to color the entire surface of the fretboard so you know when you’re shaping it irregularly (more in some areas than others).
Third, use the sanding block from the nut to the pocket and then from the pocket to the neck alternatively so you won’t sand it more on one side than the other.
Fourth, start with something aggressive like 60 or 80, and then move to something gentler like 120 or 240 when you’re closer to the final version.
Finally, always check your progress with a radius template (or several for a compound radius). You don’t have to use a fancy metal one, printing the template and gluing it to a perfectly shaped cardboard piece is good too.
Frets
Do you want a 21, 22, or 24 fret guitar? Well, that’s a decision you made in the design stage, right? You need to use them right here.
You can install them right now or you can do it after you’ve glued the fretboard to the neck, that is up to you.
Material & Size, How to Choose Them?
Frets come in several materials.
Materials range from nickel-silver to stainless steel in order of hardness. But it’s not only a matter of hardness, the different alloys also change guitar tone slightly.
Stainless steel is the hardest and also the brightest giving you a slippery and cold impression as you play. Nickel-silver, on the other hand, is the warmest, most common one.
As a rule of thumb, you can go through two sets of nickel-silver frets in the timespan you go through a single set of stainless steel frets.
So, once you’ve chosen your material, it’s time to choose the size. The rule I use for this is the following: The taller and wider the frets, the easier it is to shred and play fast.
But let’s put this into numbers.
Medium frets go from .080” and .095” in width and from .039” to .045” in height. These are the most common and what all of us know as “the sweet spot” in frets. If you want frets to play every and anything, these are the ones.
Tall and wide frets go from .100 and .110 in width and .045” and more in height. These are the perfect frets for shredders since they allow you to play faster with minimal effort. This is the same reason why players like Yngwie Malmsteen scallop their guitars.
To install the frets simply put them into position and use a mallet to bang them into place. Make sure you hit the sides first and the center last so you won’t have any problems with them going out of place.
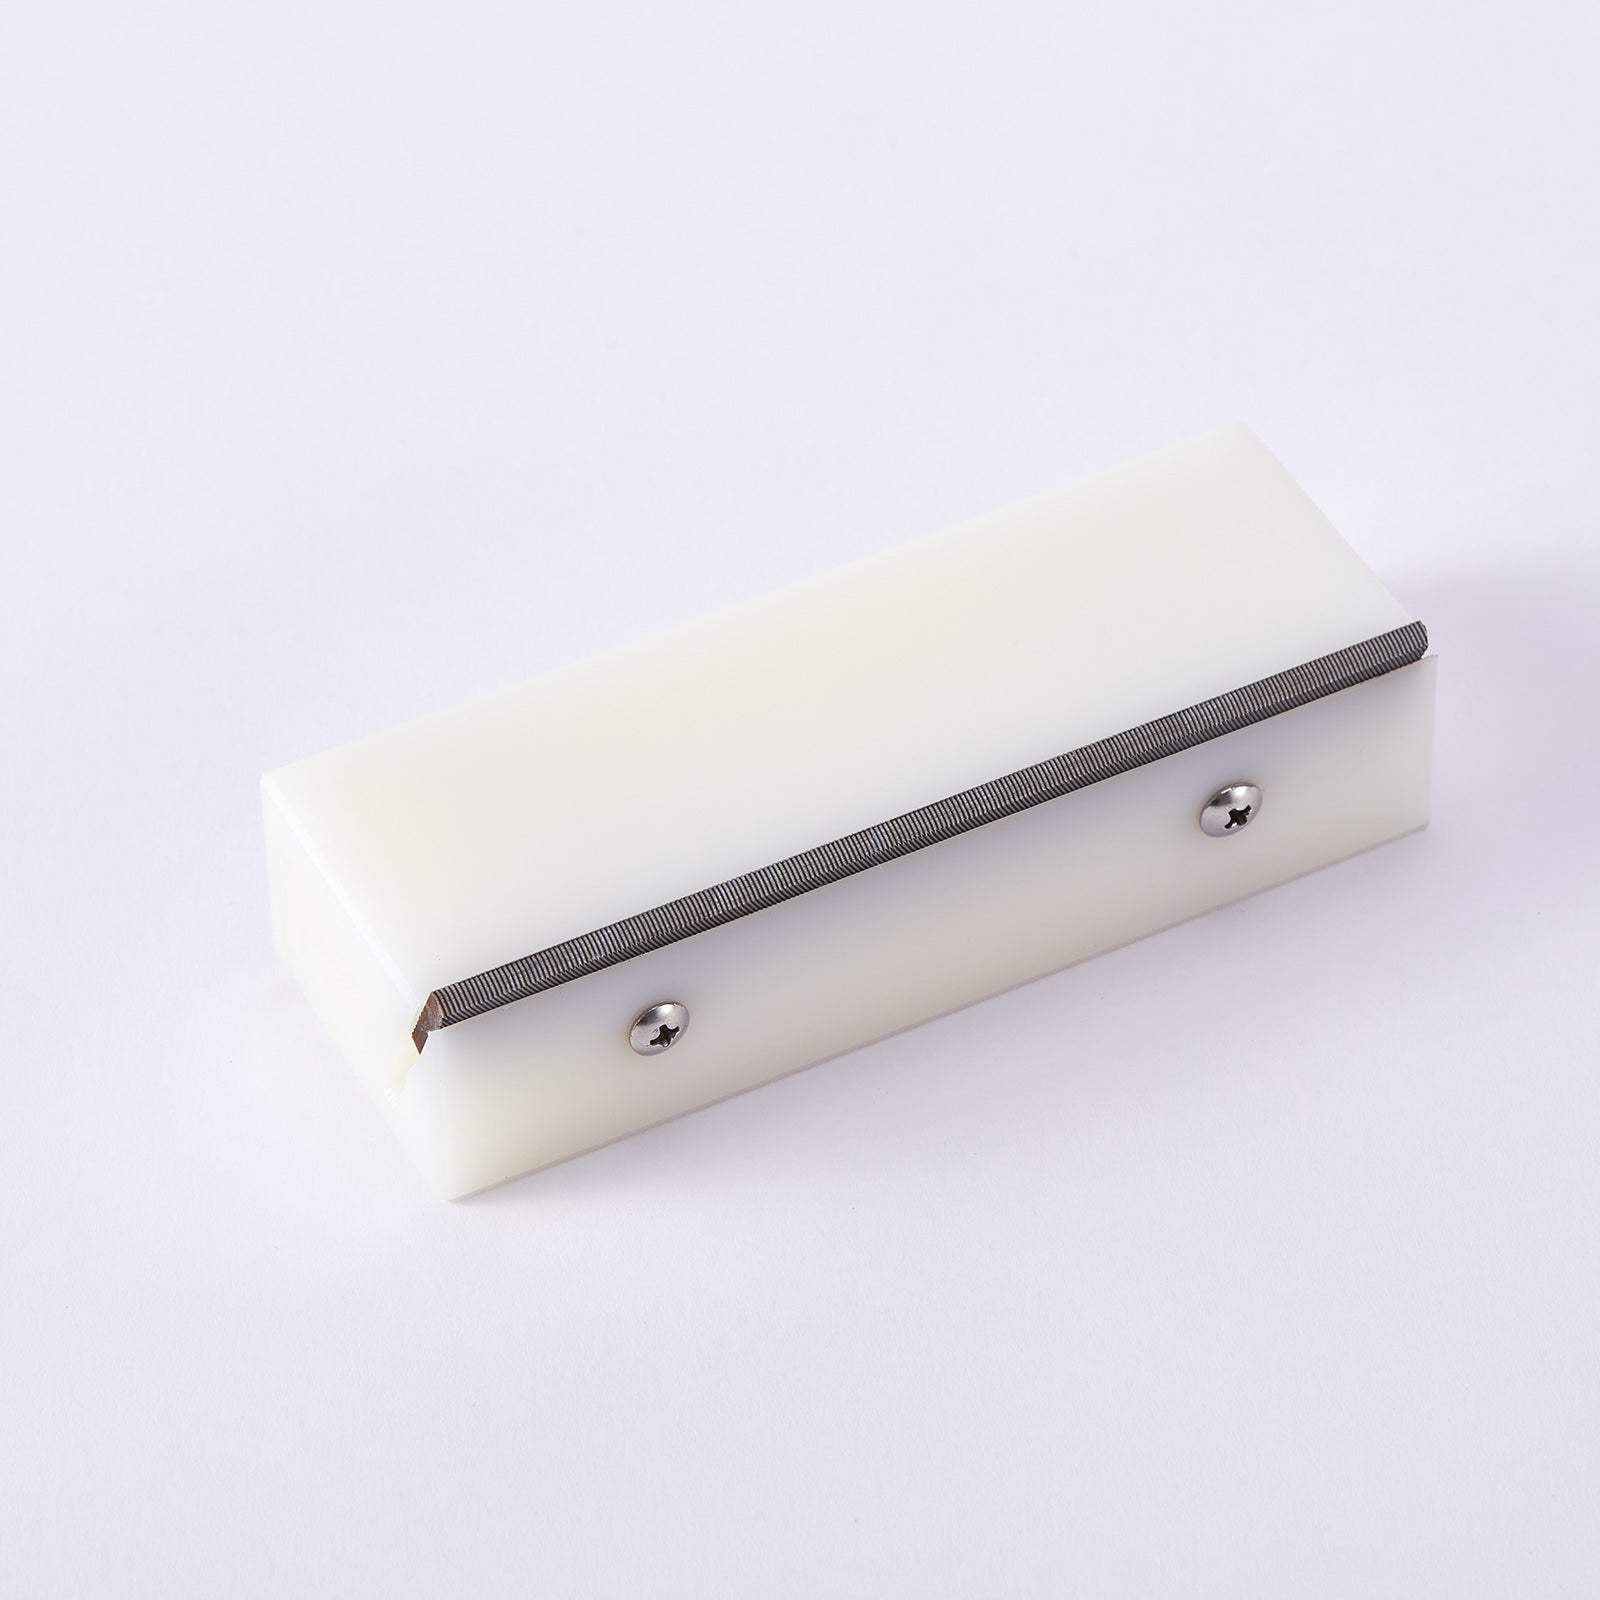
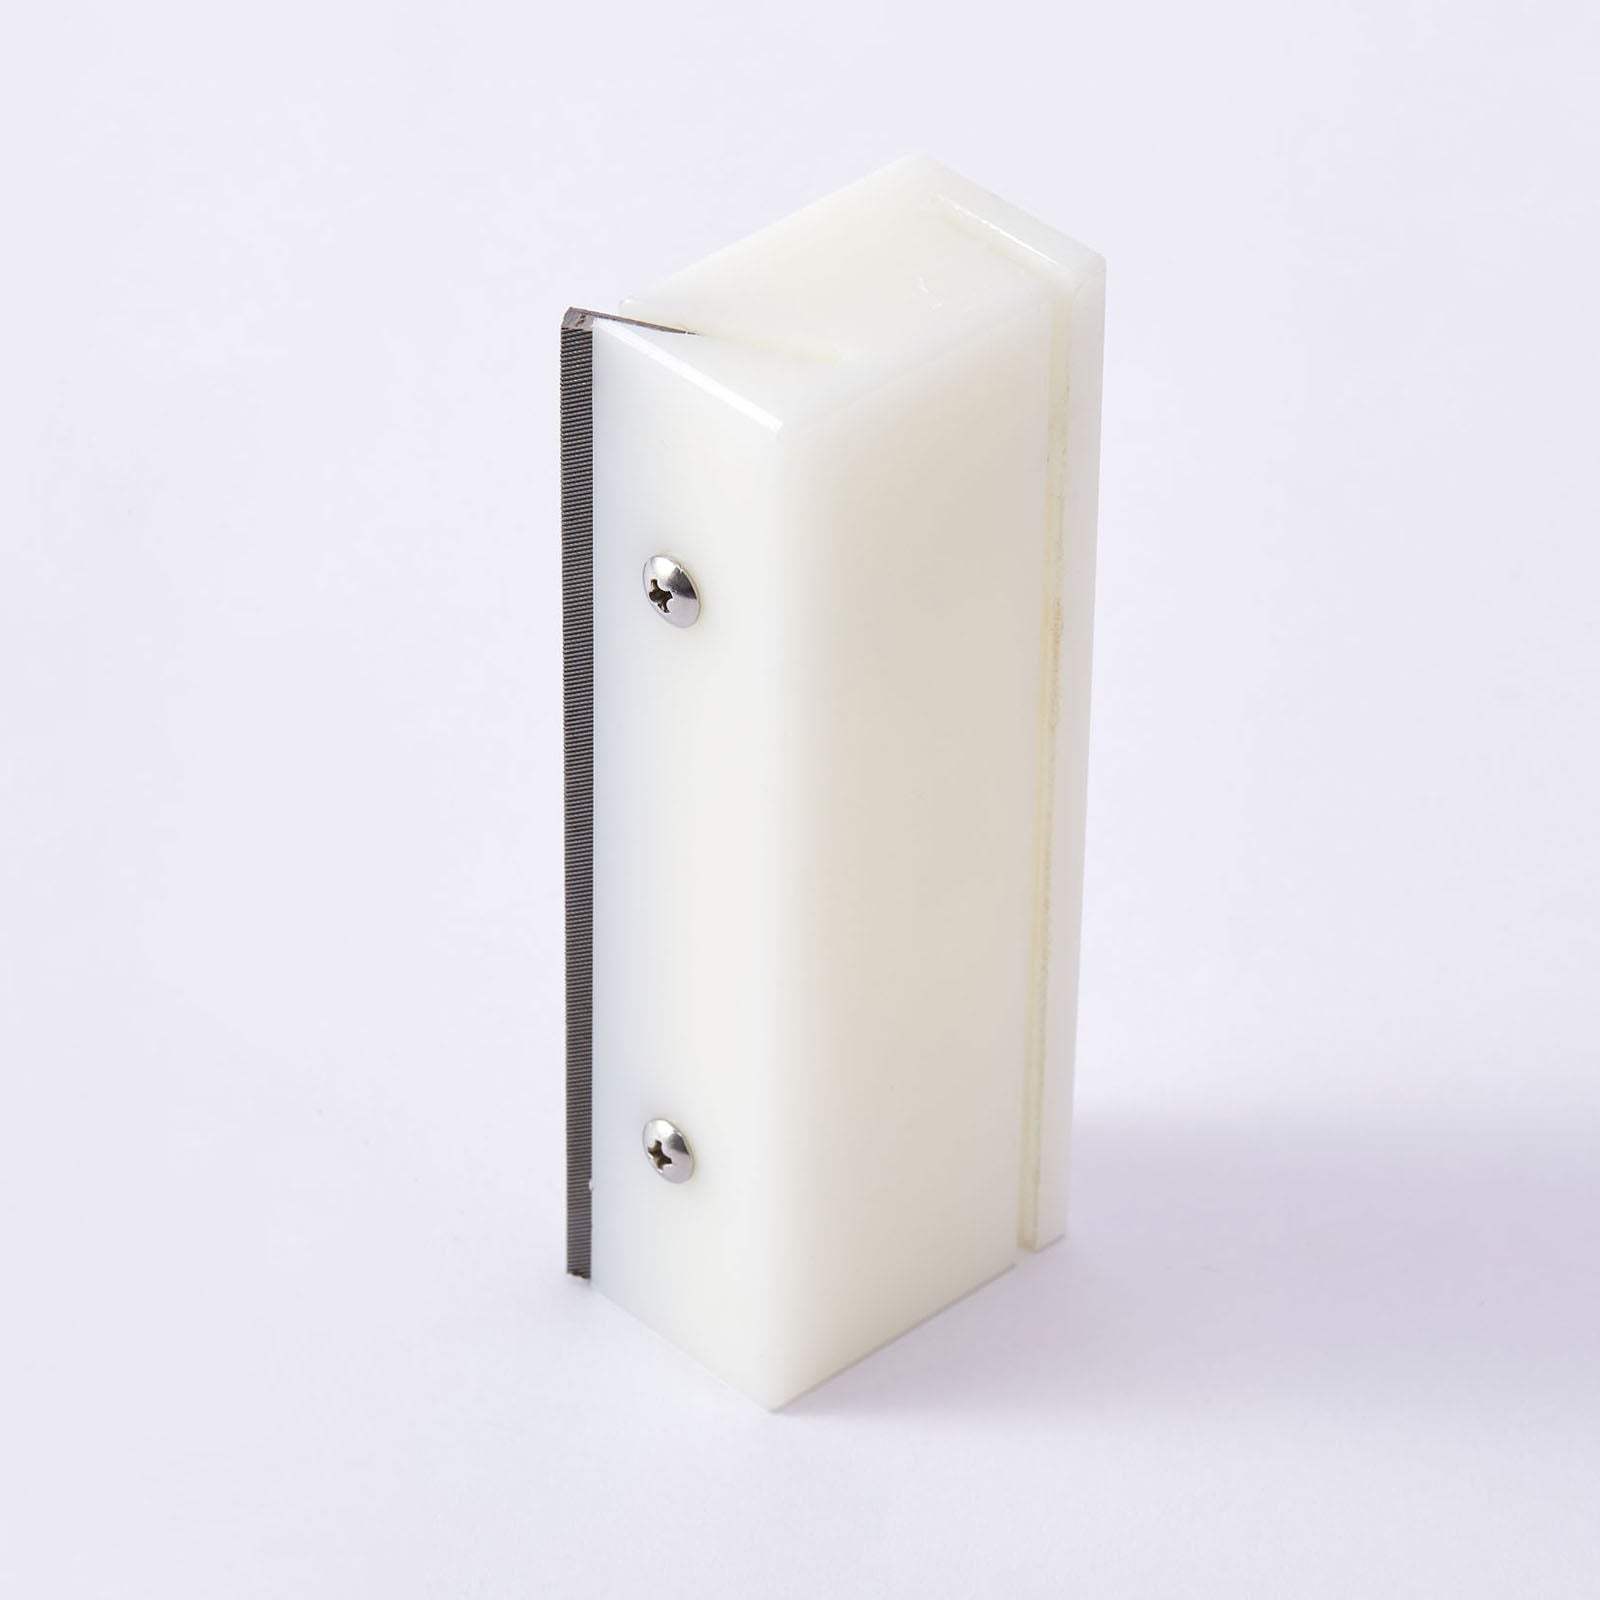
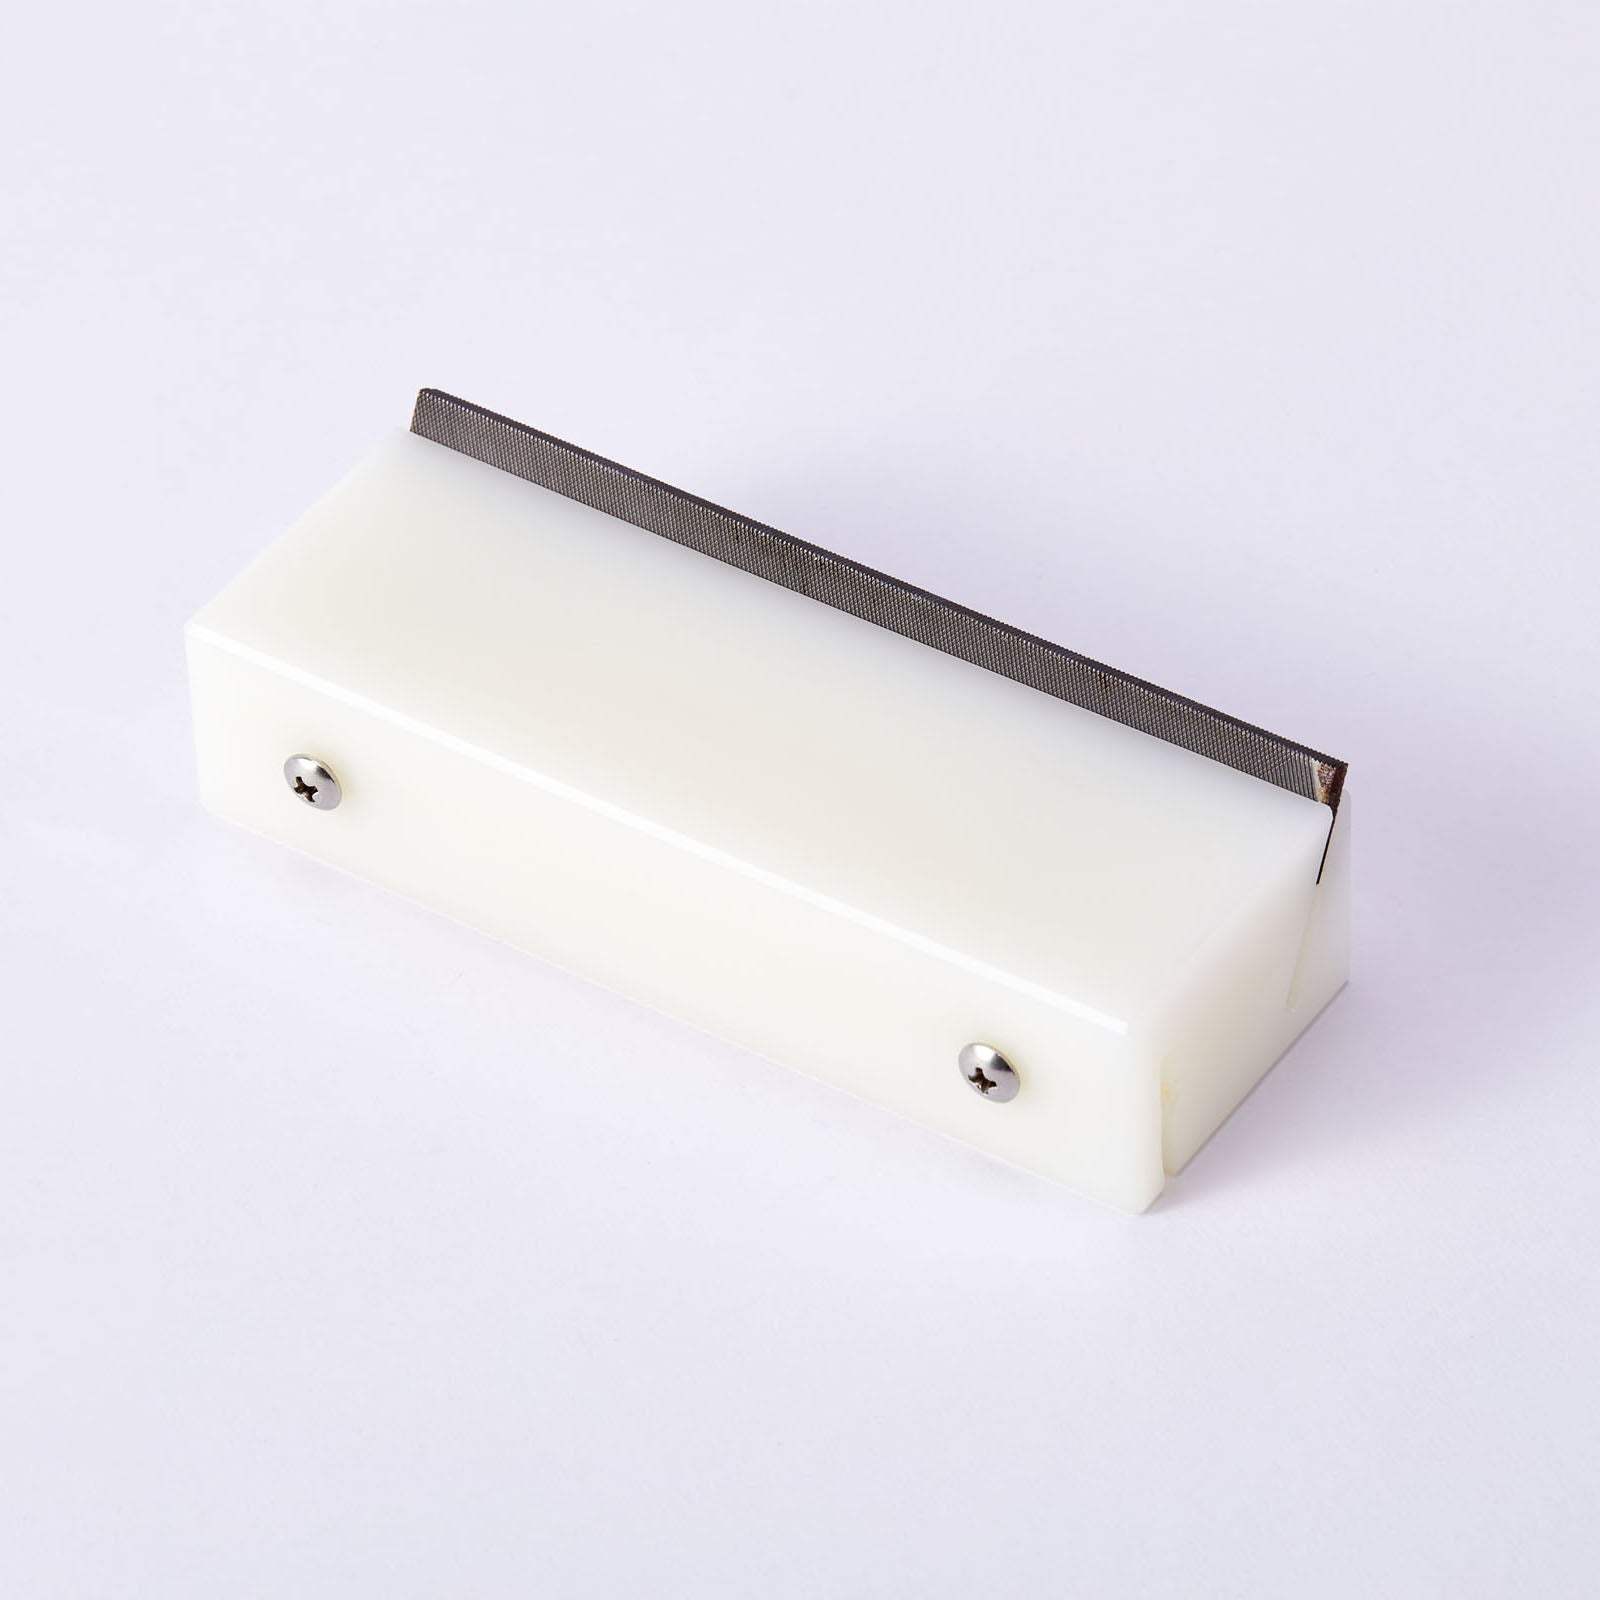
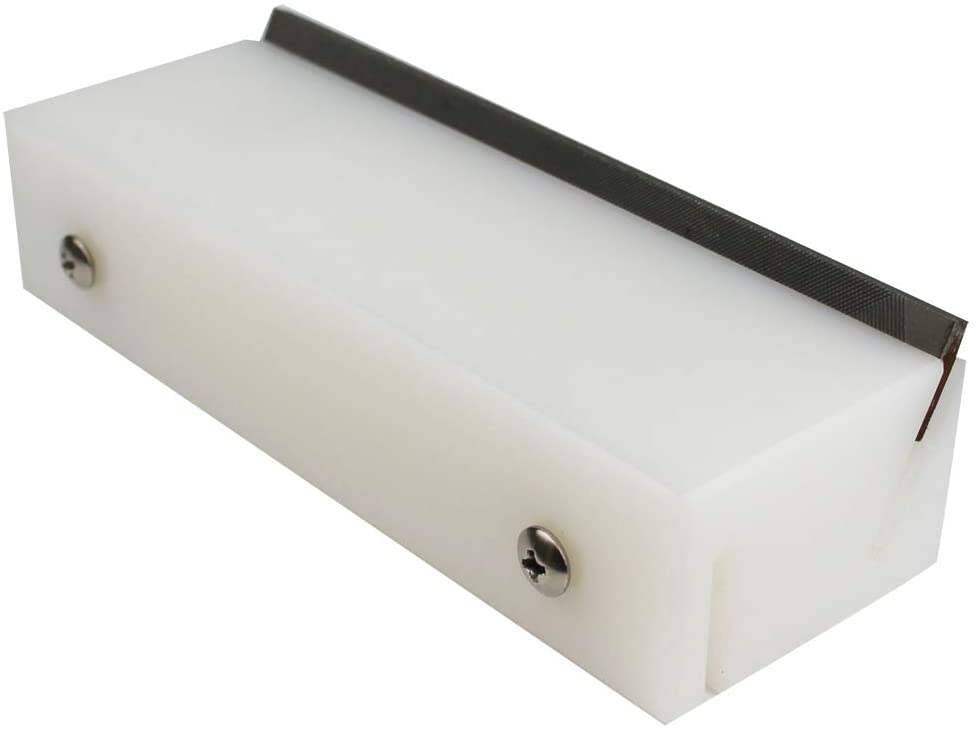
To cut the excess wire you can use a fret cutter.
Finally, use a metal file to shape away any metal that’s protruding from the fretboard after the clipping.
Neck Profile
Well, after you’ve narrowed down the wood you’ve chosen to resemble something like a neck, it’s time to shape it into the real thing.
First, you need to decide what kind of neck you want. In my opinion, the best way to do this is to measure your favorite guitar neck. If that neck comes from a big-brand guitar, you might even be able to find the exact measurements online.
Second, you need to turn it into a template. You print that of your favorite guitar and glue it to a piece of cardboard so you can use it to measure your new neck.
Chisel, Sandpaper, and a Special Tool
One thing that you need to remember throughout your build is that you can always take wood off but you can’t put it back in. That means you have to be very careful when getting close to the final shape.
What you need to do is measure the exact shape of the neck in the 1st and 12th fret. Place your fretboard over the neck and mark the frets over the plank.
Once you’ve done that, use the neck shape template to measure how much wood you need to remove in each step of the neck. Draw some lines until you’re the closest to the shape you want.
Use those lines to remove the wood using the saw and then the chisel. Use those two tools until you’re close enough to start using the sandpaper. Once you have those two parts of the neck very close to the template you’re using, simply connect them removing the remaining wood between them.
You can use the chisel all the way to the moment you need to switch to the rasp and finally the sandpaper.
Truss Rod
Before gluing the fretboard to your neck, it’s time to create the canal and install the truss rod.
Mark the middle line and use a ruler to measure 3mm on each side of the center line. Here, you need to make a decision; will you adjust the truss rod from the headstock or the body?
Open up that channel with the width of the truss rod, which you should already have in your possession.
So, using a 6mm chisel and a mallet, just open up the channel hitting it vertically.
This will leave a channel open but with an irregular bottom. To improve it, you need a special tool I’m going to show you how to create in the next paragraph.
The Tool You Need
Grab a wood block that’s smaller than your chisel blade. Cut a hole in it at 45°. Inserting the cutting tool move it back and forth leveling the bottom of the channel. Once that is done, simply install the truss rod inside the neck, and you’ll be ready to glue the fretboard.
Gluing the Fretboard
Before you glue the fretboard into place make sure you cover the truss rod with masking tape so you won’t glue the truss rod as well. Spread the glue evenly and use clamps to leave it overnight to dry.
Decisions about the Hardware
Now that the bulk of the guitar body and neck are done, it’s time to go for the hardware and the electronics. It’s time to clean up your working bench leaving no sawdust behind and getting to the details.
By now, you should have assembled your neck in its pocket and glued or bolted it depending on the guitar you’re building.
Let’s get started from top to bottom, so, we’ll talk about tuners first.
Tuners
Guitar tuners come in all sorts of shapes which also offer different functionalities.
Let’s review what type you should use for your build.
3+3 or 6-in-Line?
This is more of a design need than an option. If you made a guitar that requires 3 tuners per side, you just can’t install 6-in-line tuners. That said, the more modern designs like those made by Music Man can be 4+2. In that case, you need to use 2 tuners one side and 4 another.
Also, bear in mind that tuners come for right-handed or left-handed guitars, these are different.
With the tuners in your possession, drill the holes for the tuners and mark the spots where the screws go.
The Buttons
Not everything in a guitar is decided upon performance; there’s an aesthetic element as well. Well, guitar tuners also come in different shapes with diverse buttons.
Perhaps, the best example of these differences is the utterly-known Les Paul tuners. You can buy them with kidney buttons or keystone buttons. These tuners look very different but work essentially the same way.
Finally, if you’ve ever seen SRV’s Number One guitar and John Mayer’s Black Number One, you’ll see those special golden tuners with pearl buttons.
So, engage your bling with the tuners that look the best on your new build.
Locking or Non-Locking?
The final decision about this very important aspect of your build is if you’re installing locking or non-locking tuners in your guitar.
Locking tuners allow you to lock the strings at a certain point and improve tuning stability drastically. While some also believe that it won’t improve stability, but helps ease the process of changing strings.
That said, if you choose a double-locking tremolo like a Floyd Rose bridge, you won’t need locking tuners because strings are locked at the nut before reaching the tuners.
On the other hand, the locking tuners can help you have a better experience playing guitars with tremolo systems such as the synchronized tremolo (Strat-style), the Paranormal Tremolo (Jaguar, Jazzmaster), or Bigsby-style tremolos.
Nut
The guitar nut affects the guitar’s tone when playing open strings but is also very important for tuning stability. Therefore, what you need to decide is not only the material but also the functionality of the nut.
Let’s break it down.
• Bone Nut – Bone is the original material used for making nuts. One major upside is that it sounds great and is self-lubricant. Plus, it’s easy to work with. The downside is that bone is very inconsistent and you might need to go through several nuts to find a good one.
• Ebony Nut – Ebony nuts are great for jazz guitarists because they produce a mellow, warm tone. On the downside, they’re not as durable as other materials on this list.
• Synthetic Nut – Plastic, TUSQ, and graphite could be ordered that way. Plastic nuts are the most common, and the one used in the cheapest guitars. TUSQ is closer to bone and graphite is the perfect material for shredders in terms of tone, durability, and tuning stability.
• Metal Nut – Metal nuts sound brighter and were very common in the ‘70s. Jerry Garcia was famous for his brass nuts. On the positive side, the durability is superb, but on the other hand, it is very difficult to work with. Their tone isn’t for everyone, so make sure you try it in advance.
• Roller Nut – Roller nuts are the best option for those who like to use and abuse their tremolo units. Perhaps, the best example was the one and only Jeff Beck. These nuts have rolling pieces, reducing friction. When paired with locking tuners, your guitar gets close to the tuning stability of a double-locking tremolo system. On the downside, it’s virtually impossible to make them, you have to buy them.
To install the nut on your new guitar, you have to carve out the exact size of the nut from the top of the neck with your chisel.
Bridge
As you might know, the scale of a guitar is measured from the nut to the bridge. Once you install the nut, you have to measure the bridge position. If you chose a 25.5, 24.75, or 25” scale in the design stage, then it’s time to mark it on the body.
Are you making a tremolo-loaded guitar? If that’s the case, what kind of tremolo system?
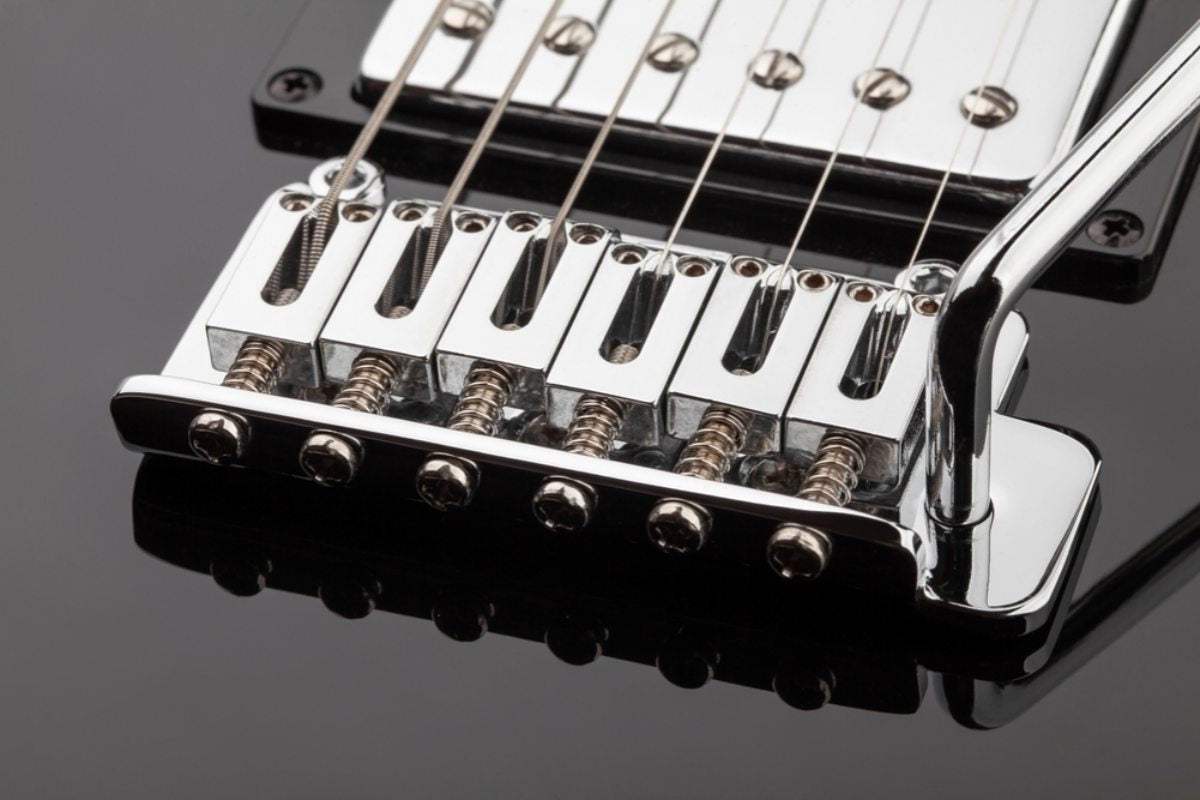
Let’s talk a little about this decision because it might transcend taste and needs. Bear in mind that if you decide to install a tremolo system (that’s not a Bigsby) on your guitar, you have to carve a big chunk of it out.
If this is your first build, and you don’t want to add that extra workload, I suggest you opt for a string-through-body design or a tune-o-matic bridge. Furthermore, you can add a Bigsby to the guitar if you want to have some tremolo action.
For string-through-body designs (whether it is a Tele bridge or a hardtail Strat bridge) you need to drill the six holes in the body and put a ferrule in each slot. Make sure you follow your template for this and that the guitar has the scale you need.
If you’re building a tremolo-equipped guitar, you need to follow the template of the guitar you want to build. Use the template on the body to carve out the slot you need. It’s important to start with your chisel and work your way through it little by little until you reach the proper depth.
Decisions about the Electronics
Now that the hardware is in place, it’s time to carve out the space the electronics need. Yes, I know, there’s no escaping the carving of the wood, even if you don’t want to build the guitar with a tremolo bridge.
To route the body, put the template over it, and mark what you need to carve. Bear in mind that some guitars, like Les Pauls, will require the carving done from the back so you don’t have to cut a big chunk out of that beautiful flamed-maple top.
Before moving on, though, let me give you two pieces of advice.
Firstly, you will need a very long drill bit so you can cut from the pickup cavity to the control cavity. You’ll need to also use it to cut from the bridge to the electronics so you can also ground the whole circuit to it.
Secondly, always use aluminum foil to shield all the cavities. This will keep those electromagnetic interferences away.
Pickups, a Tone Experiment
Pickups don’t necessarily have to be your final choice on any guitar. Nowadays, you can buy humbuckers, single-coils, and everything else in any shape to fit any cavity.
That said, your design stage must have defined this aspect too.
As a rule of thumb, if you’re not quite sure yet what sound you’re after, you might want to have a look at the in-between models; AKA P-90s and Minihumbuckers.
If you want something bittier than a single-coil that can drive your amp harder and get that broken Pete Townshend, early Santana, Neil Young, and Robbie Krieger overdriven sound, a P-90 is a goldmine.
Also, it’s not as full and hot as a humbucker and it does generate 60-cycle hum.
Old-style minihumbuckers (like you’d find in a Firebird) are usually clearer and less powerful than other humbuckers. If you want something more than a P-90 with no hum and retaining note-to-note clarity, a minihumbucker may be the one.
Finally, if you want to maximize clarity and punch with a tight low end and a bright treble frequency, then active pickups might be a great experiment.
Bear in mind you’ll have to allocate a battery somewhere inside the guitar’s body, and that they require a learning curve in most cases.
Pots, Switches & Electronics
Pots and switches usually come perfectly described in the blueprint for the build.
That said, it’s a good experiment to move some things around too. For example, you can install a five-way switch on a Les Paul-style guitar. Or you can also install a series/parallel four-way switch on a Telecaster to have that extra sound.
Also, pot values can really help you squeeze every last sound from your guitar.
If you’re recreating a classic build, though, just follow the scheme.
As a piece of advice, always do the soldering outside and try to install the whole thing assembled and fully functional inside the guitar once you’re done.
What about the Pickguard?
Guitars with big pickguards won’t need as much care in the last step. Yes, you can route a Stratocaster Eddie Van Halen-style leaving a big pool, and then experiment with all kinds of pickups and electronics.
Pickguards don’t affect the tone of your instrument, it’s merely aesthetics. So, make sure you make those aesthetics count and buy the pickguard that best expresses you through the guitar.
Don’t Forget The Knobs!
Another aesthetic touch to your guitar is the selection of the knobs. Although these obey an esthetic choice, they also serve a purpose. So, buy the ones you like the most and are the most comfortable playing with.
Final Assembly & Road Testing
Once you’ve assembled, strung, and set up your guitar, it’s time for some action. You can expect some things to work and some others to need a little redoing. This is perfectly normal, it’s very strange doing something perfectly on your first attempt.
If we learned something from Neo’s failed first jump in Matrix is exactly that.
So, don’t be afraid or embarrassed if you have to go back to redoing some of the steps you saw above. After all, just like life, every guitar is always a work in progress.
Adjustments along the Way
Speaking of work in progress, you might love the tone and feel but the bridge pickup might seem a little too bright for you after a road test. Well, change the pots, or even the pickups.
Or you might love the tremolo unit but the guitar goes out of tune a lot. Well, feel free to install a roller nut and a set of locking tuners.
Adjustments along the way are a must and a need.
The Bottom End
Few feelings come close to finishing your first guitar. Don’t even get me started about plugging it in and playing your first gig with it.
Yes, with time and more builds, mistakes are going to seem ridiculous and gross. Well, when you first picked up a guitar your C chord wasn’t as good as it is now.
So, be patient, follow these steps, and trust the process. There’s a wonderful world of woodworking and instrument-making waiting for you.
Start shaping your dreams into six-string tone machines.
Happy guitar building!
If you like this article, please share it!
Be sure to join our FB Group Guyker Guitar Parts VIP Group to share your ideas! You can also have connections with like-minded guitar players, Guyker updates as well as discounts information from our FB Group.


