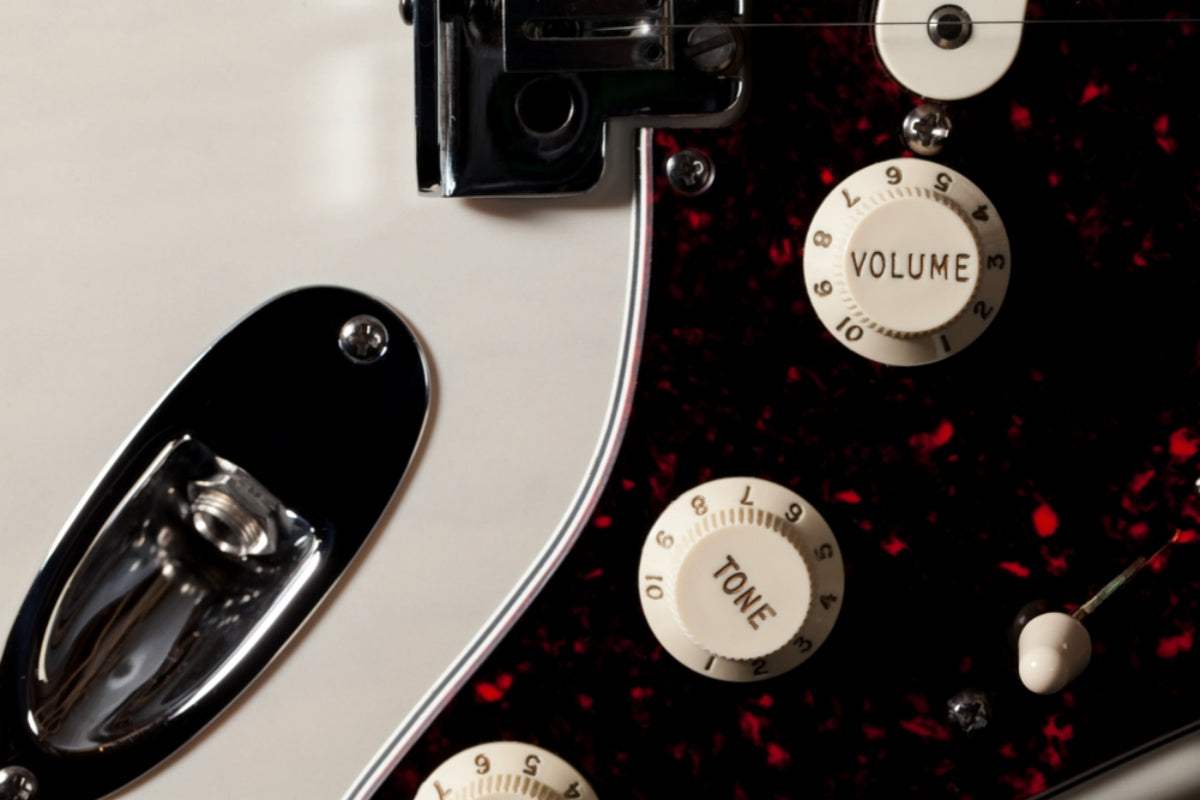
Changing the pots? Myself? Really? That sounds very complicated. Well, it certainly isn’t the easiest guitar DIY job, but it’s actually a lot easier than you think, especially if you have some experience with a soldering iron.
But before we get to that, we need to start with the basics, so let’s get going with…
What is a Pot?
Pots (or Potentiometers) are variable resistors that affect the range of your guitar's tone and volume knobs and are rated by ohms. The higher their value, the higher the frequencies that they allow to pass through.
Single coil guitars are usually fitted with 250k pots while humbuckers normally have 300k to 500k pots. Superstrats also utilize 500k pots but will feature specially designed single coils to counteract the additional brightness.
Active pickups usually use 25k pots because they are boosted by a preamp and how they are wound. At the top end of the pot value scale, Fender Jaguars and Jazzmasters use 1meg (1000k) pots which explains their very bright sound and large tonal range.
Next, let’s find out…

What’s the difference between a Volume pot and a Tone pot?
In terms of the pot itself, nothing, the only difference is whether a capacitor (“cap”) has been attached between the pot and ground. If so, it turns the pot into a simple EQ, i.e., a Tone control. As you turn your tone knob which is attached to the shaft of the pot, you are varying the amount of high-end frequencies that are being rolled off.
The value of your pot and the value of the capacitor (usually between 0.001 and 0.1 microfarads) will determine the frequencies that are attenuated. Changing either will alter the amount of high frequencies that are produced by your guitar. Keeping things simple, the higher the value of the capacitor, the bassier the tone of the guitar will be, whereas, the higher the value of the pot, the more high-end frequencies will be allowed to pass through.
Should I buy a Long Shaft Pot or a Short Shaft Pot for my Guitar?
This will depend on what guitar you have and where the pot is mounted. If for example, you have a Stratocaster or Telecaster where the pots are mounted on the scratchplate, you will need short shaft pots. But if the pots are going to be mounted on a thicker-topped guitar, such as on a Les Paul or SG, then you will need long shaft pots due to the thickness of the wood.
You also need to take a look at your control knobs. Do they have tiny spines or teeth on the inside? If so, you will need to buy split shaft pots which allow you to push the control knob onto them. Alternatively, does the control knob have a small screw? If that’s the case, then you can still use split shaft pots, or if you prefer, buy solid shaft pots which let you attach the control knobs by screwing them tightly up against the shaft.
Quite a lot to cover here, I’m afraid, but we’re nearly at the end now with…
Should I buy Audio Tapered or Linear Tapered Pots for my Guitar?
Generally, you should go for an audio tapered pot because it has a more natural sound than liner tapered pots.
Audio tapered pots use a logarithmic curve that produces a gradual, even increase and decrease in volume or tone. Whereas, linear tapered pots, due to their non-logarithmic design may produce major spikes in volume or tone with very little movement of the control knob. Therefore, if you own a guitar that is quiet until a certain point on the control knob, then jumps massively in volume with only the slightest turn, it’s probably got a linear tapered pot in it. However, it could just be a dirty pot and some penetrating spray sprayed down the shaft will cure the problem.
Now that the basics have finally been covered it’s time to find out…

Why should I change the Pots on my Guitar?
Lots of guitars sound great just the way they are, but maybe you're a player who wants more top-end, or maybe the tone that you’re guitar is currently producing isn’t quite what you are looking for. Alternately, you could just have old tired pots on your guitar that crackle and break up as you adjust the settings. In either case, changing the pots to ones with a different ohm value or replacing them with upgraded new pots could well solve all your tonal problems.
What Pots are Best for my Guitar?
This will depend on why you are replacing your pots. If you are unhappy with their performance, then upgrading to higher-quality pots will give you smoother, more precise control of both your volume and tone knobs. For Gibson/Epiphone owners, the GUYKER A500K Brass Long Shaft Potentiometer will not only improve the performance of your pot but also give it a boost of higher frequencies if you currently have a 300 ohm pot installed.
Or if you have a Squire or Fender, this GUYKER A250K Brass Split Shaft Potentiometer will get you’re volume swells sounding super sweet again.
Or, if you’re after a complete re-wire, there are many excellent kits available including the GUYKER LP100 Electric Guitar Pickup Wiring Harness For Epiphone Les Pauls, SGs, etc.
How do I install a Pot on my Guitar?
Depending on your guitar you will need to get access to the pots, If it’s a Gibson/Epiphone, this is usually by removing a backplate to reveal a cavity that contains the pots. However, if it’s a Fender/Squire, then you’ll usually need to remove the strings, then unscrew the scratchplate, and turn it over to reveal the pots.
Next, if your soldering iron has a temperature setting, set it to 600 degrees, if not, no worries, it shouldn’t be a problem. Now wait a few minutes for it to heat up.
It’s now time to remove the old pots one at a time by carefully placing the soldering iron on each lug to melt the solder and remove the wires. However, just before you do that, it’s a good idea to take a picture of the area before you unsolder anything for reference. Once the wires are loose, remove the control knob (pull off or unscrew depending on what type it is) and unscrew the nut holding the pot in position, then remove the pots.
Now put the new pots in place and screw the holding nut tight to keep them in position. You now need to tin the wires and the lugs, do this by running your soldering iron down the exposed part of the tip of each wire so that a very small amount of solder goes in between the filaments of each one. Now tin the lugs with a very small amount of solder that just covers up the holes in them. Tinning helps prevent heat damage because you shouldn’t need to keep your soldering iron on the components for very long when attaching the wires. It’s a good idea to get yourself a helping hands tool when doing this job, they are very affordable and make the process a lot quicker, produce better results, and will cause far less frustration.
Next, attach the wires to the new pot, ensuring that the correct wires go to the correct lugs, check the picture you took if you’re not sure. To do this place the wire on the lug of the pot (using the helping hands tool), then place the tip of the soldering iron on the lug while you place the tip of the roll of solder wire on the other side of the lug until a small, shiny solder joint is created securing the wire to the pot. Do not use too much solder, a small amount is more than enough. If your solder joint is not shiny, but a more dull grey color, then remove the solder with a solder wick and re-solder the lug.
Now, re-build your guitar by replacing the cavity cover, attaching the scratchplate back in place, or whatever else needs doing, and test the pots to make sure that they are all working properly, and to enjoy the tonal improvement your DIY skills have made to the guitar.
Wrapping it up
That’s it, you should now have the new pots in place, working as they should and hopefully giving you the tone you were going for. Congratulations on a job well done, as I said at the start… changing the pots on your guitar is easier than you think!
If you like this article, please share it!
Be sure to join our FB Group Guyker Guitar Parts & Accessories Community to share your ideas! You can also have connections with like-minded guitar players, Guyker updates as well as discounts information from our FB Group.


